Installing the DEVICE STATUS AGENT
Management Device Registration
Setup Procedure Flow
Set the list of printers managed by Device Status Agent.
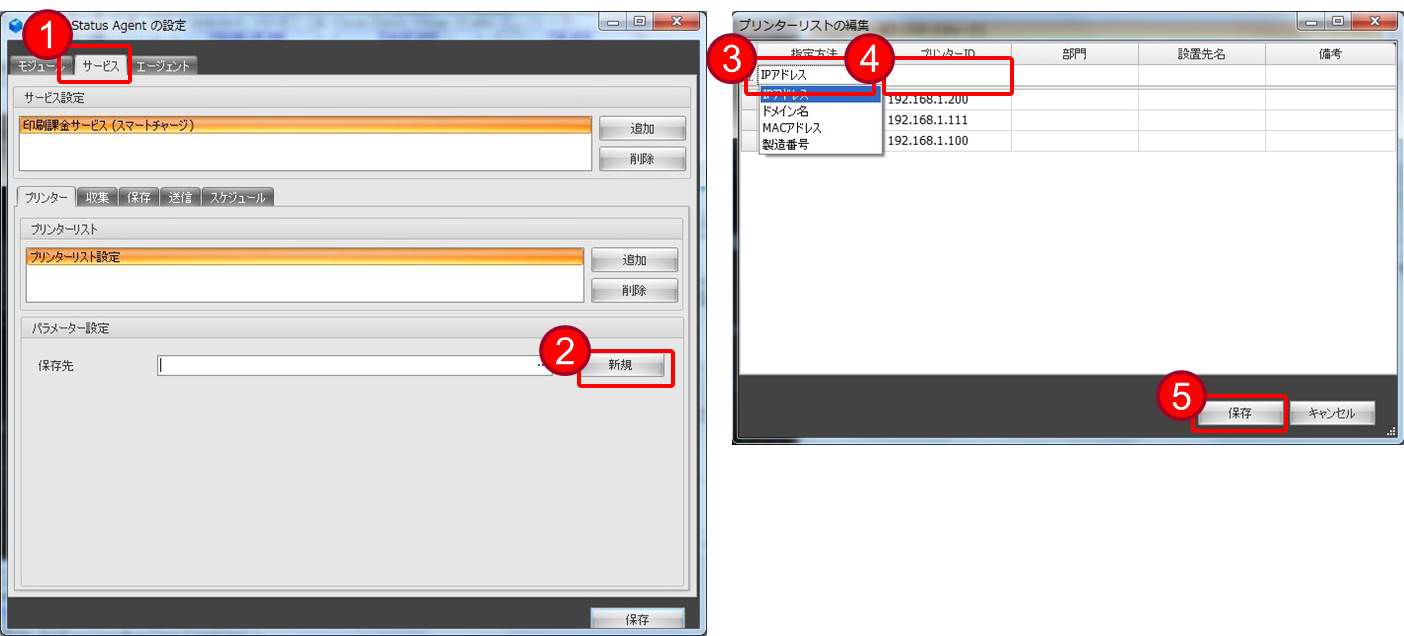
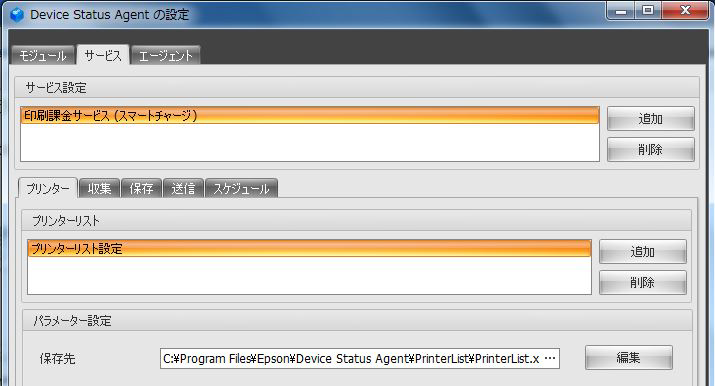
- Click on the Service tab.
- Click [New] or [Edit] in the Parameter Specification.
- Select "IP Address" as the specification method.
- Enter the IP address of the managed printer in Printer ID.
- Click the [Save] button.
 important / 重要 important / 重要 |
|
Create or edit a printer list.
Click [New] or [Edit] in the Parameter Specification.
| important / 重要 |
|
Registering Managed Printers
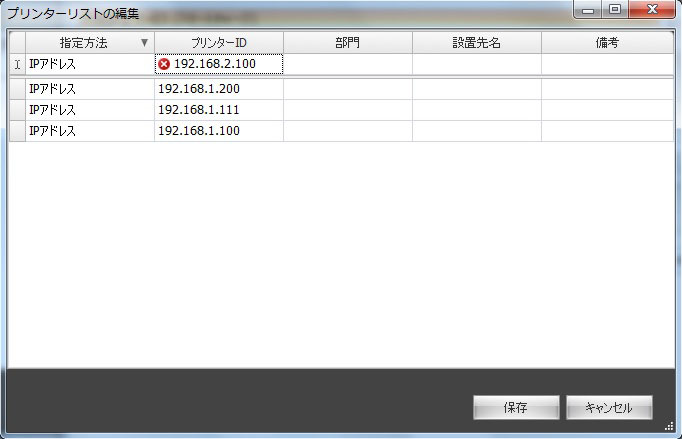
- Select "IP Address" as the specification method.
- Enter the IP address of the managed printer in Printer ID.
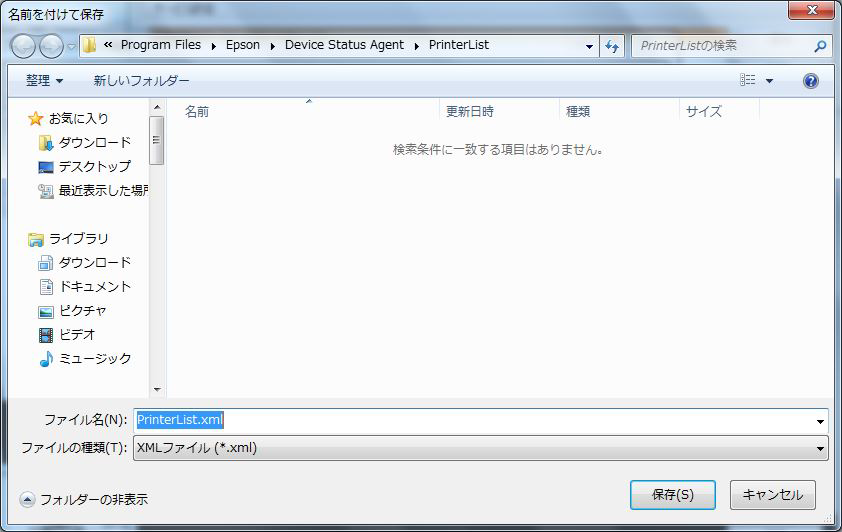
Click the [Save] button.
| important / 重要 |
|
 Note / 補足 Note / 補足 |
|
Printer Information Collection / Send Settings
Printer Information Transmission Test
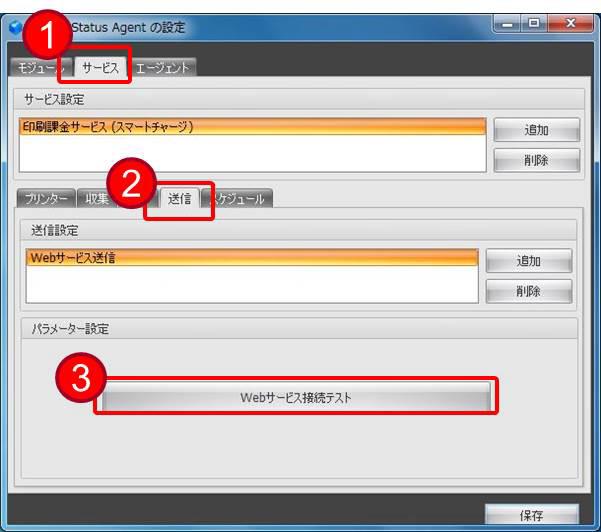
- Click on the Service tab.
- Click on the Transmission tab.
- Click [Web Service Connection Test] to test the connection between the Device Status Agent and the ERMS Infra.
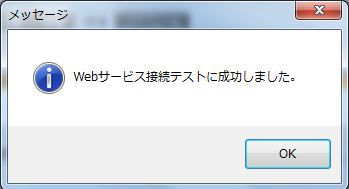
- Confirm the success screen and click [OK].
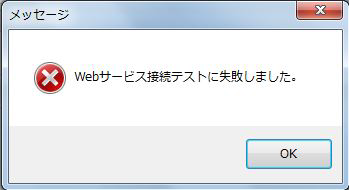
- Display in case of failure.
- Confirm the success screen and click [OK].
| important / 重要 |
|
Printer Information Collection Schedule Settings
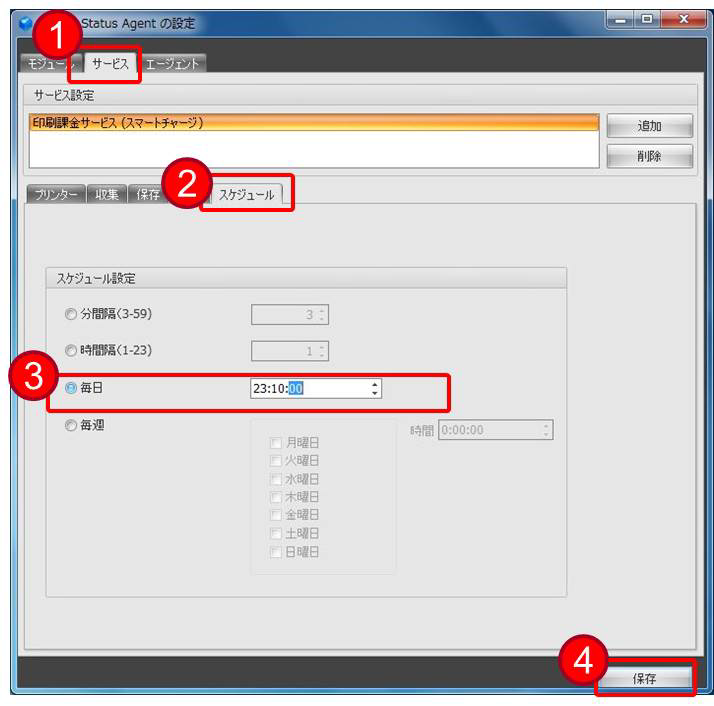
- Click on the Service tab.
- Click on the Schedule tab.
- Select [Daily] in the schedule settings.
The time is automatically set when the installation of the Device Status Agent is completed. - After the settings are set, click the [Save] button.
| Note / 補足 |
|
Operation Check After the Setting
Operation Immediately After the Setting Completion
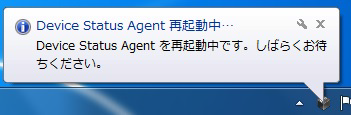
After saving the settings, the Device Status Agent service will start automatically.
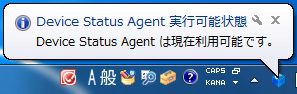
When the service starts, the Device Status Agent icon in the system tray shows "Ready" and turns from gray to blue.
Machine Information Transmission Function Check
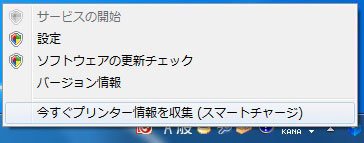
Verify that printer information is sent to ERMS Infra. Execute [Collect printer information now (Epson Smart Charge)] in Device Status Agent.
- Right-click the Device Status Agent icon in the task tray (notification area) to display the menu and select [Collect printer information now (Epson Smart Charge)].
- An information gathering balloon is displayed.
- A confirmation of the collection results is displayed.
Check whether the information of the target Epson smart charge machine is displayed correctly.
IP address
Serial number
Total number of prints
Bk total print pages
Color total print pages
- After confirming the information, select [Continue].

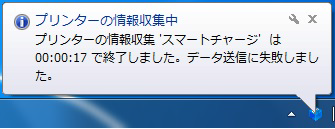
- An information gathering end balloon is displayed.
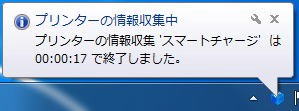
After collecting the information, contact the Smart Charge Center and confirm the completion of the transmission. When contacting them, please provide the following information:
- Epson smart charge contract number
(Epson's Smart Charge contract number is listed in "Epson's Smart Charge Monitoring Report".) - Target serial number (manufacturing number).
- [Company Name] entered in the Device Status Agent.
- Epson smart charge contract number
| Note / 補足 |
|
Contact EPSON Local Service Representatives
Epson smart charge dedicated window
KDDI Hikari Direct 050-3155-8620 (In Japan)
Business hours: 9:00-17:30 on weekdays (excluding Saturdays, Sundays, national holidays, and company-designated holidays).
The phone number above uses the phone service of the KDDI company.
Make sure to check the number carefully before dialing, as there are many mistakes when dialing.