Extension G3 Fax Board Installation Procedure
Bundled Items
| No. | Bundled Items | Qty. |
|---|---|---|
| 1 | Extension G3 Fax Board | 1 |
Installation Procedure
Prepared items
- Extension G3 Fax Board
- Gloves
- Phillips (+) screwdriver
Minimum number of workers
1 person
 Caution / 注意 Caution / 注意 |
Be sure to check the following precautions before installation.
|
Installation Procedure
 important / 重要 important / 重要 |
When installing the extension G3 fax board and enabling the FAX function, be sure to attach the FAX certification sticker included in the packing box. |
 Check Point / チェックポイント Check Point / チェックポイント |
|
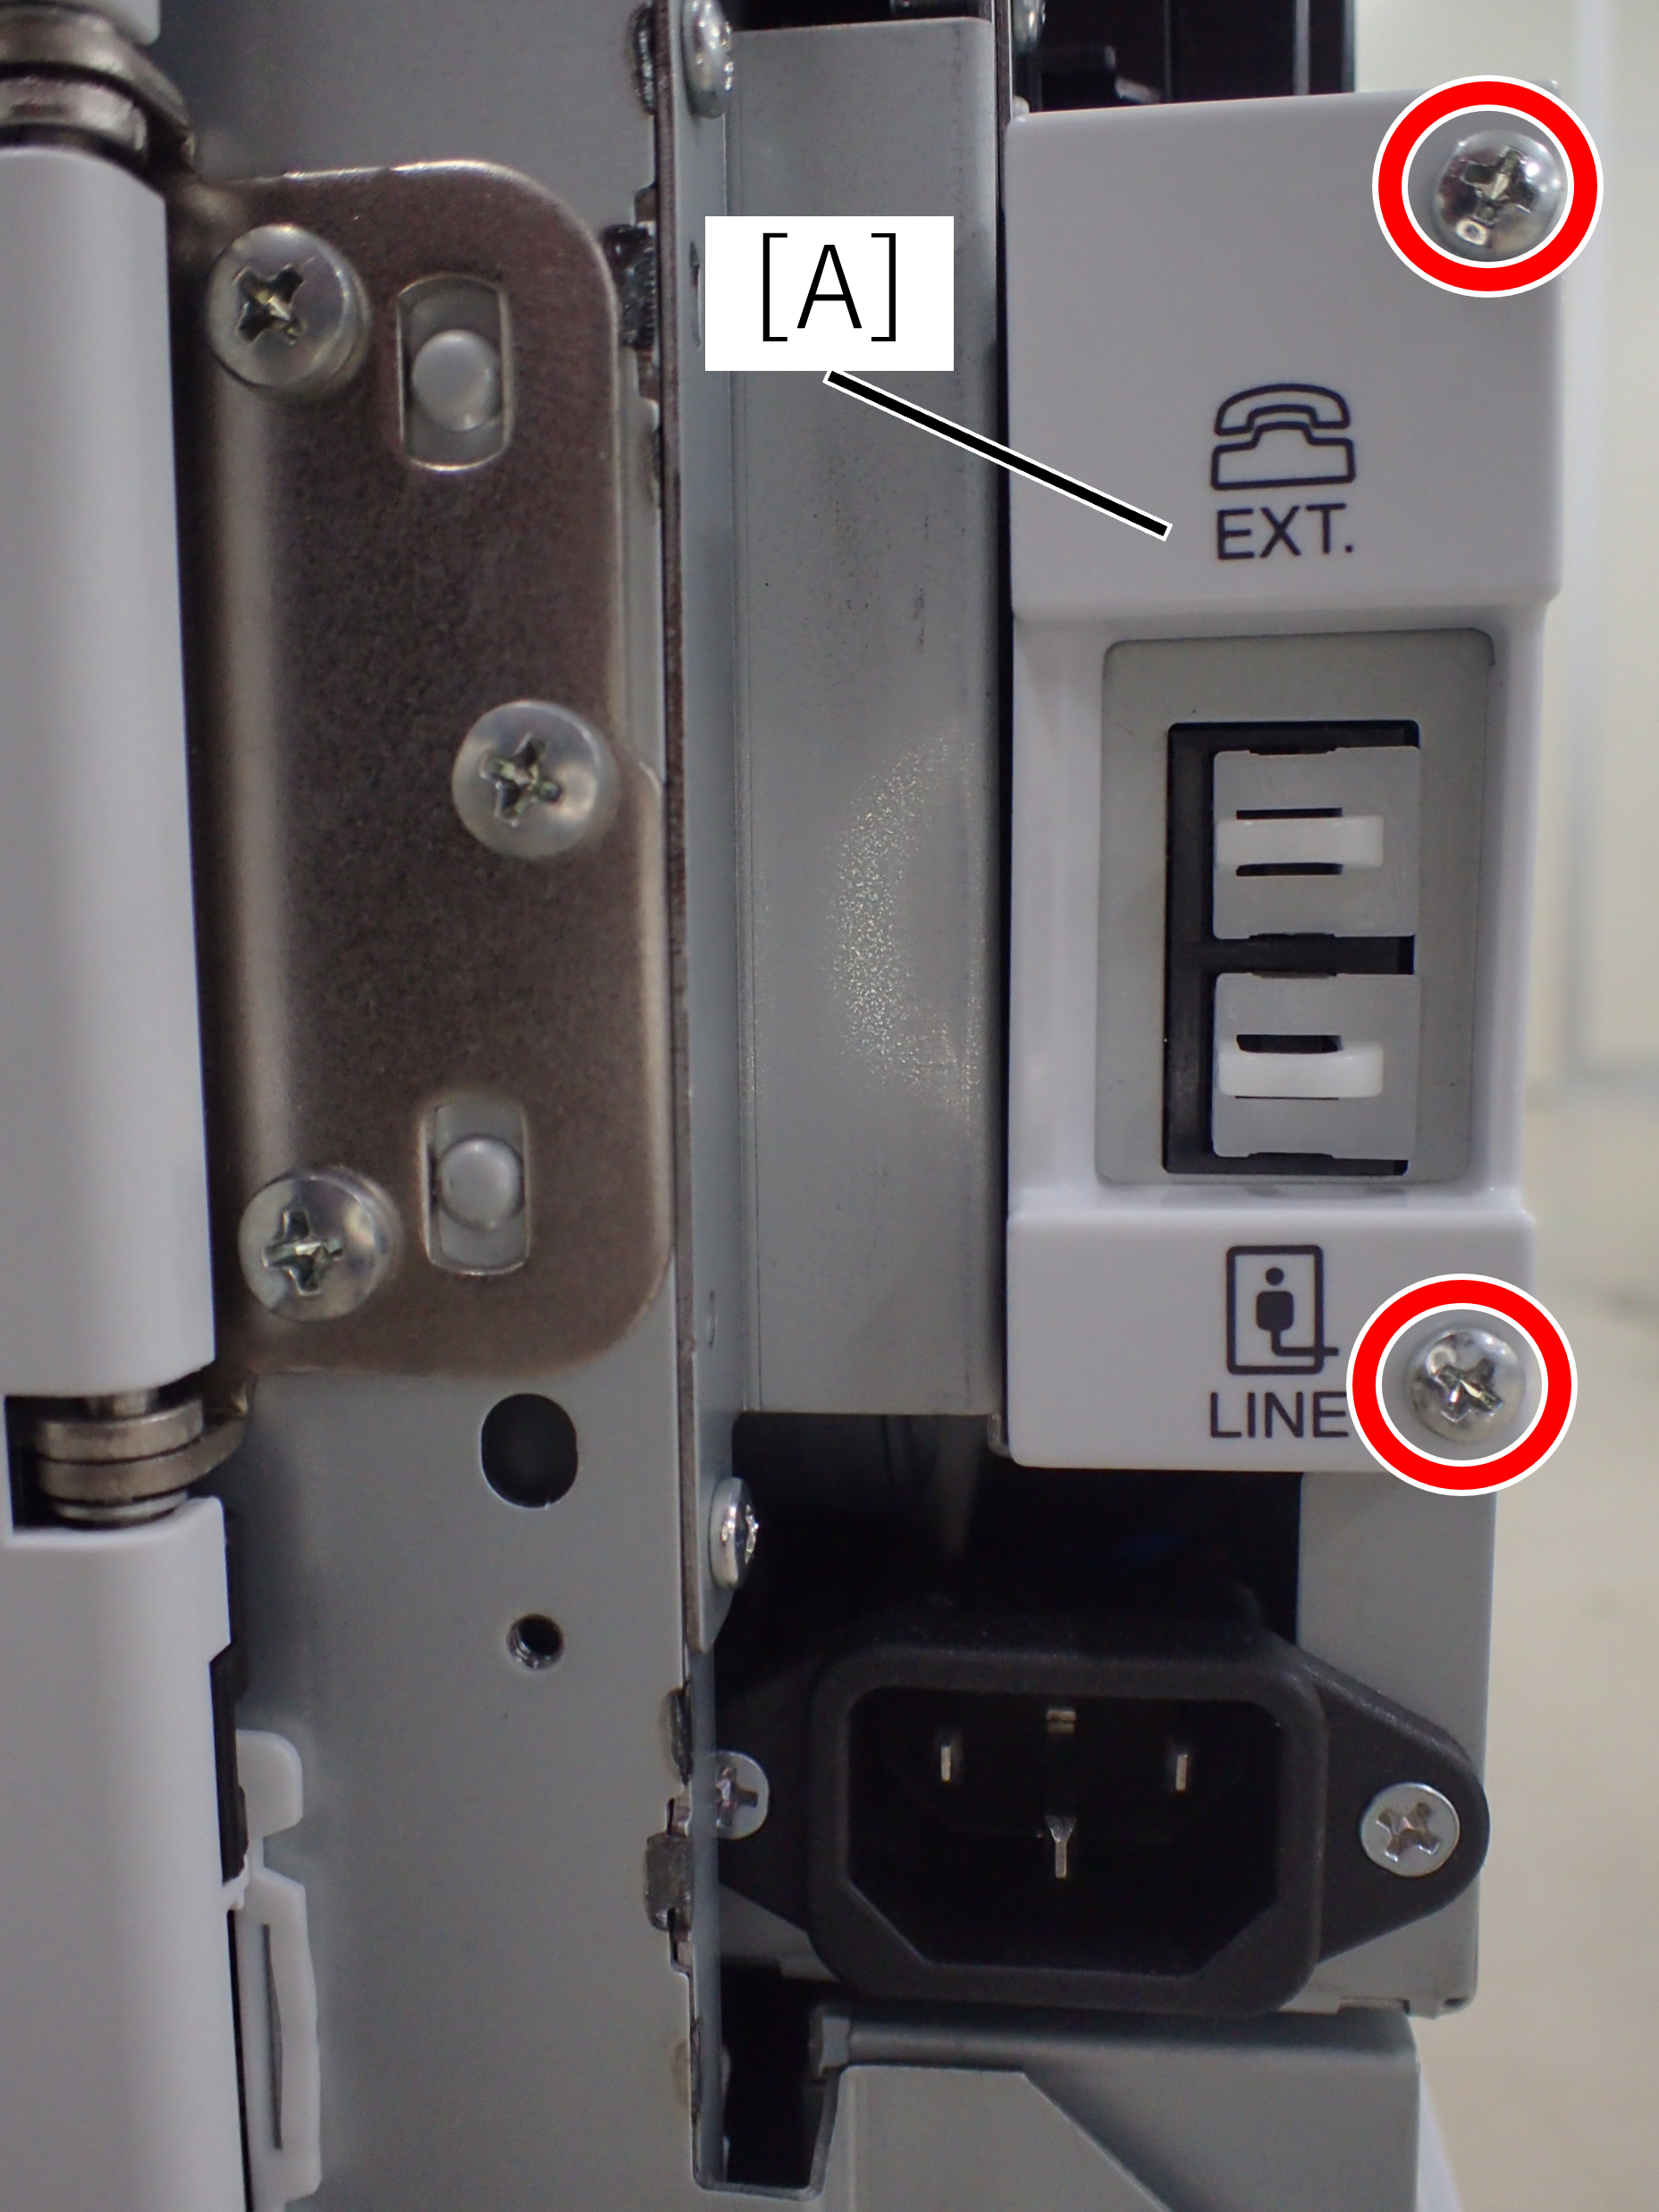
- Remove the 3 screws and remove the Right Cover Sub (A).

 : 3x8D
- Remove the 5 screws and pull the rear cover (A) toward to remove it.

- : 3x8D
 Assembly / 組み立て
Confirm that the rear cover is not floating. The positioning pin (A) may not fit into the hole (B).
Remove 2 screws and remove the LINE1 cover (A).
 Note / 補足
- This component becomes unnecessary because it is replaced with the option component. Dispose of it, or ask the customer to store it.

- : 3x14D/P
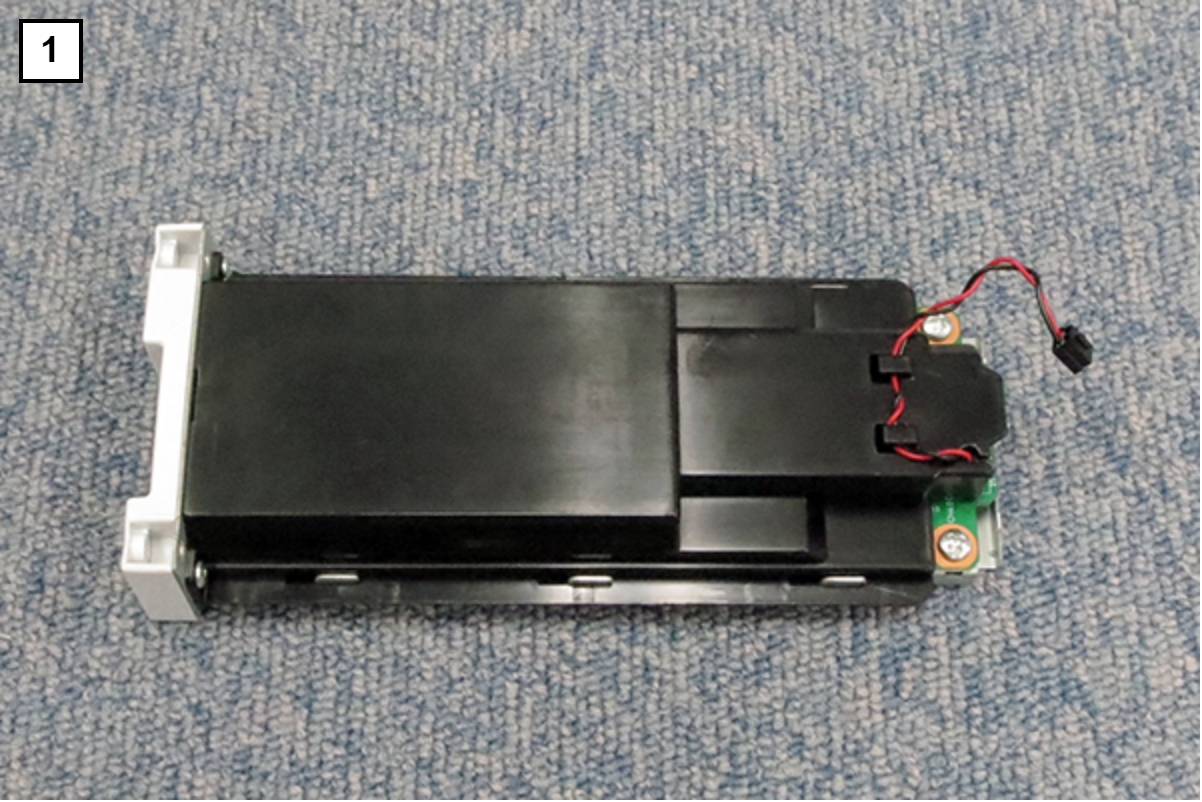
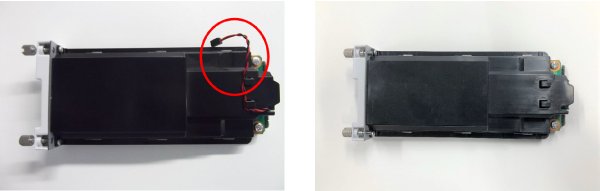
- Insert the extension G3 fax board (A) and connect the out-ringer harness (B) to connector.
 Caution / 注意
Be careful not to get the outlinger harness caught on the plate.
- Fix with 2 screws.
- : 3x14D/P
Reassemble the removed parts.
Note / 補足- After installing the extension G3 fax board, be sure to do the following.
- Fax function activation.(105 Option FAX Port Setting)
- Firmware update for the additional G3 fax board.(Firmware Update)
- Fax Setting (Fax Settings)
- Activation (Only IP-FAX) (TBDIP Fax/OCR Activation Procedure)
- After installing the extension G3 fax board, be sure to do the following.