Additional Cassette Unit Installation
 Caution / 注意 Caution / 注意 |
Be sure to check the following precautions before installation.
|
Items to Prepare
- Bundled Items of Additional Cassette Unit
- Gloves
- Phillips (+) screwdriver
Minimum number of workers
3 persons
Installation Procedure
 Check Point / チェックポイント Check Point / チェックポイント |
The procedures for installing the C2 Additional Cassette Unit and the C3 and C4 Additional Cassette Units are described below. If you are only installing the C2 Additional Cassette Unit, skip steps 1 through 6. |
- Remove the 2 screws, and then remove the Lower Case (A) of the E Cover of the C2 Additional Cassette Unit.
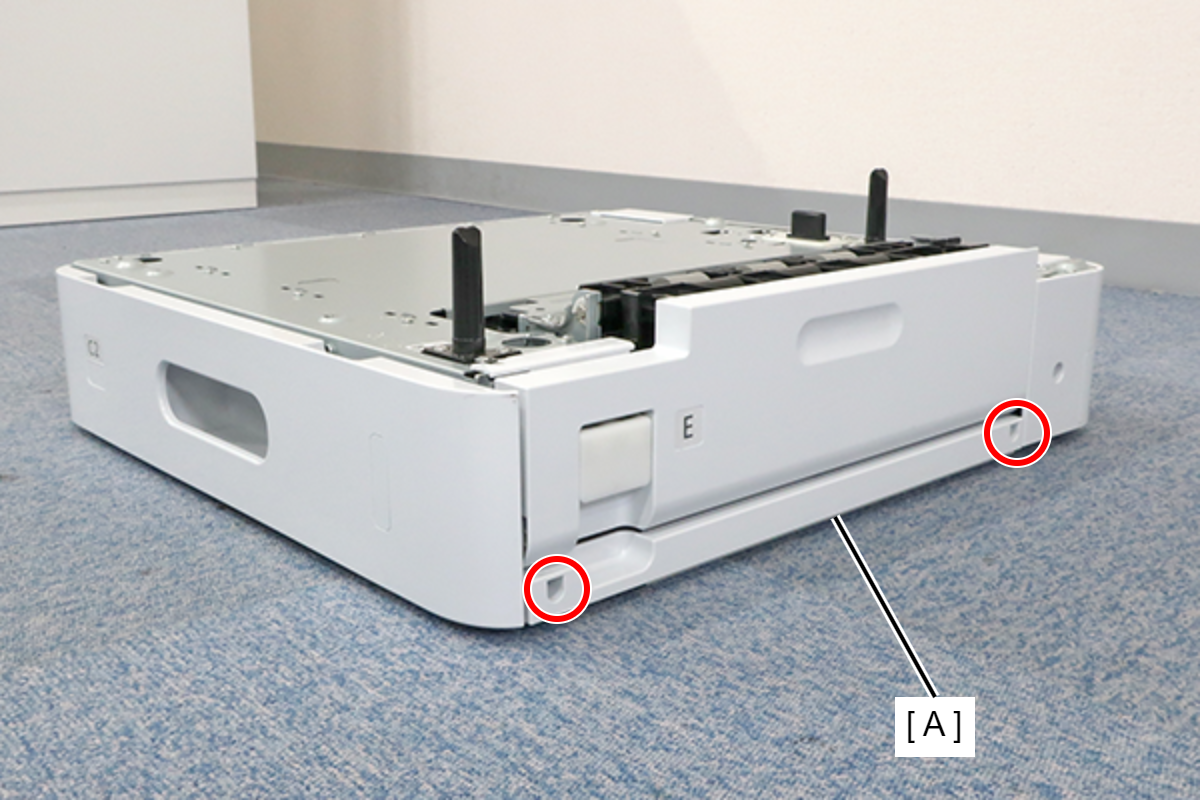
 : 3x8D
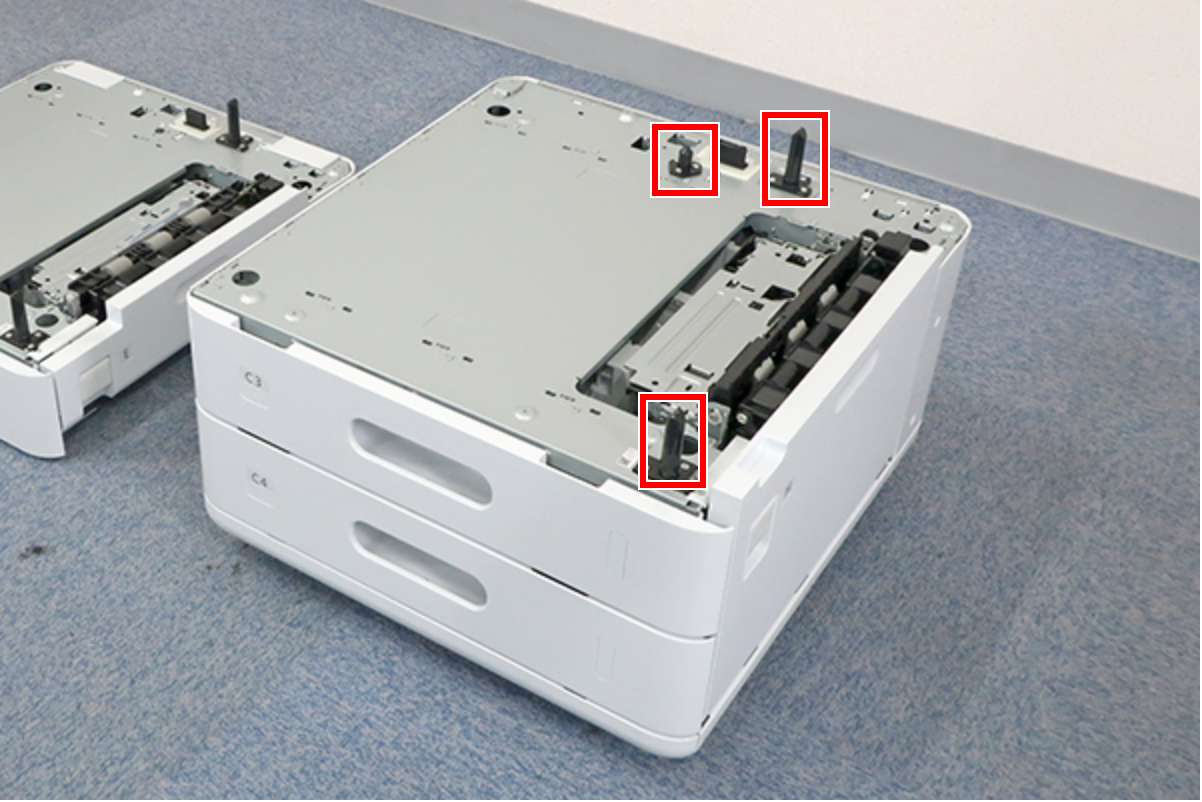
- Align the cassette removal direction of the C2 Additional Cassette Unit (A) with that of the C3 and C4 Additional Cassette Units (B), and load the C2 Additional Cassette Unit onto he C3 and C4 Additional Cassette Units.

 Note / 補足
Insert the 3 positioning shafts of the C3 and C4 Additional Cassette Units into the holes of the C2 Additional Cassette Unit.
- Remove the C2 cassette (A).
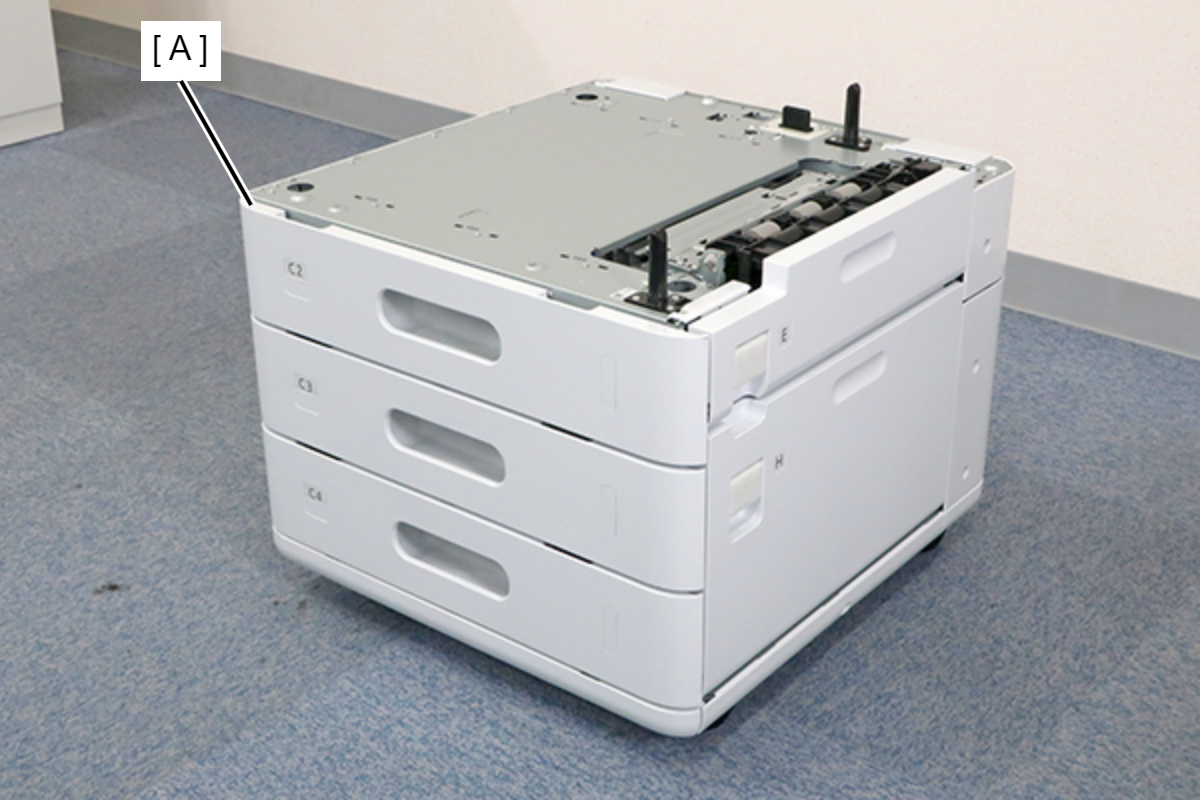
- Remove the screw to remove the Screw Cover (A) of the Additional Cassette Unit C2, then disengage the hook and remove the Screw Cover (B).
- : 3x8D
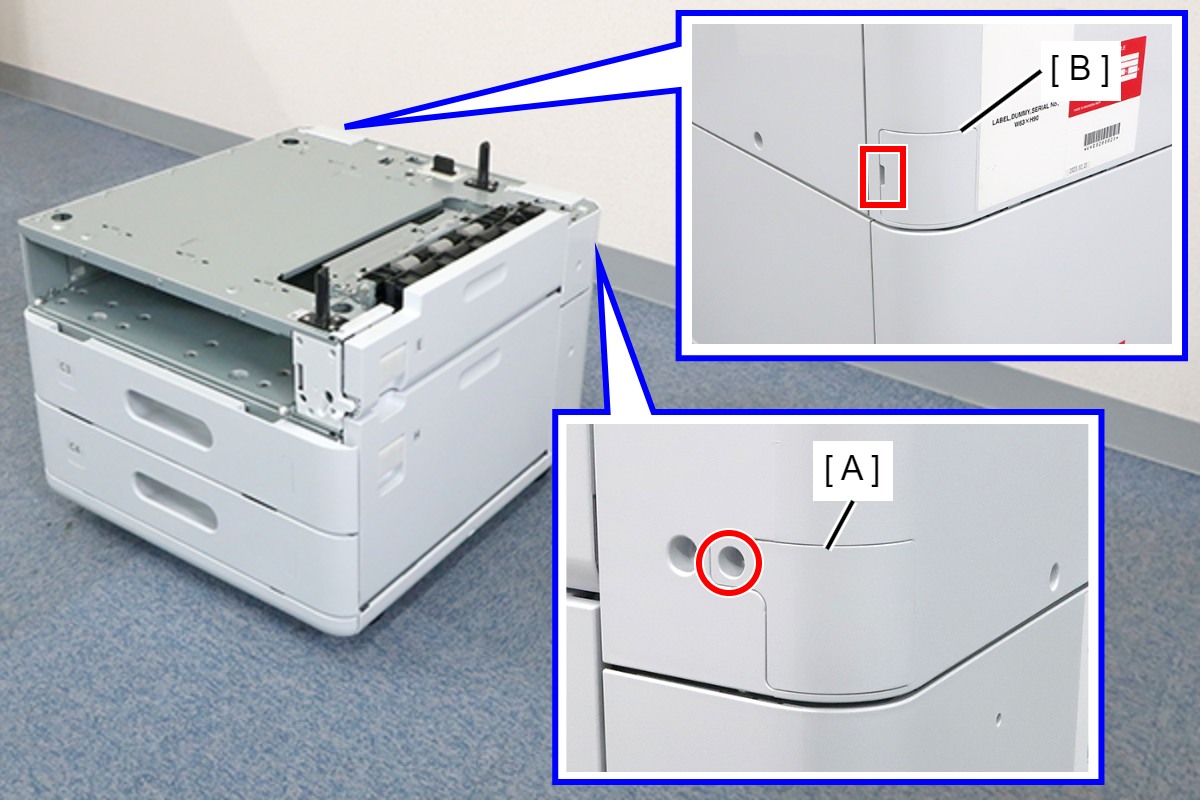
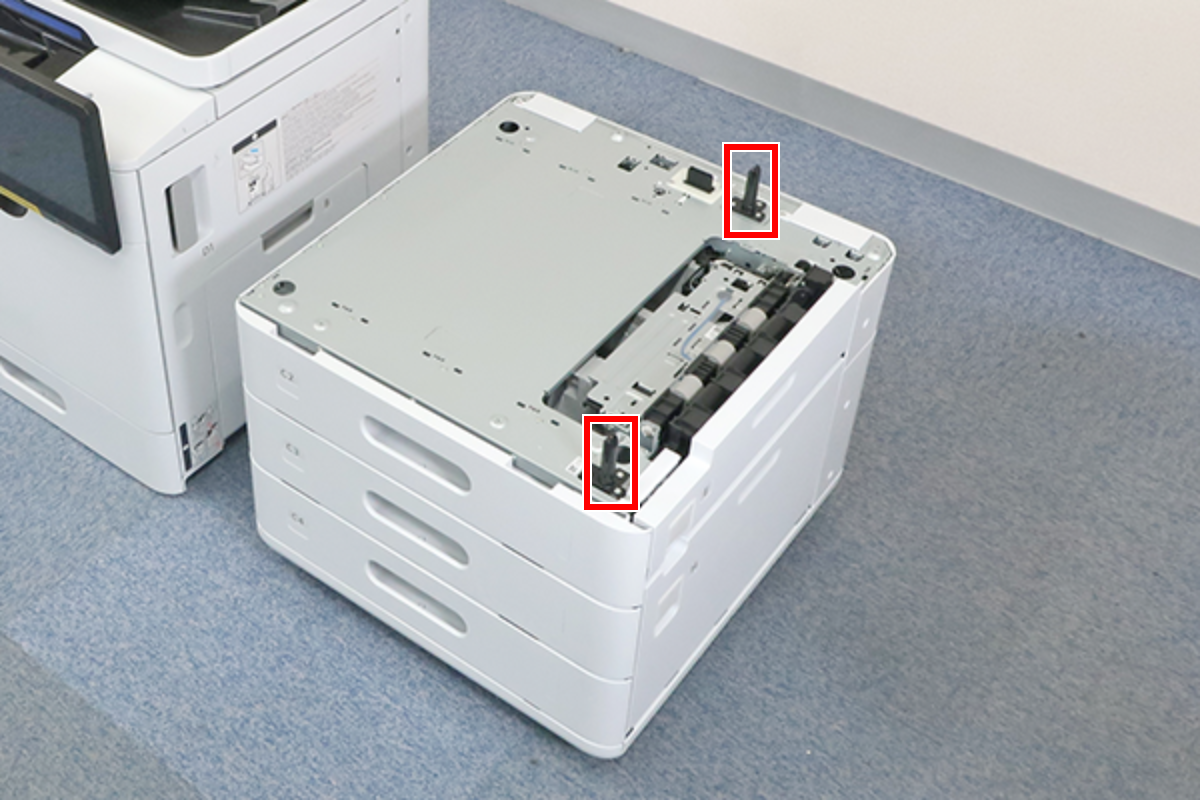
- Fix the Additional Cassette Unit C2 (A) to the C3 and C4 Additional Cassette Units (B) with the 4 coin screws.
 Note / 補足
Tighten the coin screws until they can no longer be turned by hand.
It is not necessary to use a coin to tighten the screws.
- Attach the C2 Cassette, and then re-attach the 2 Screw Covers.
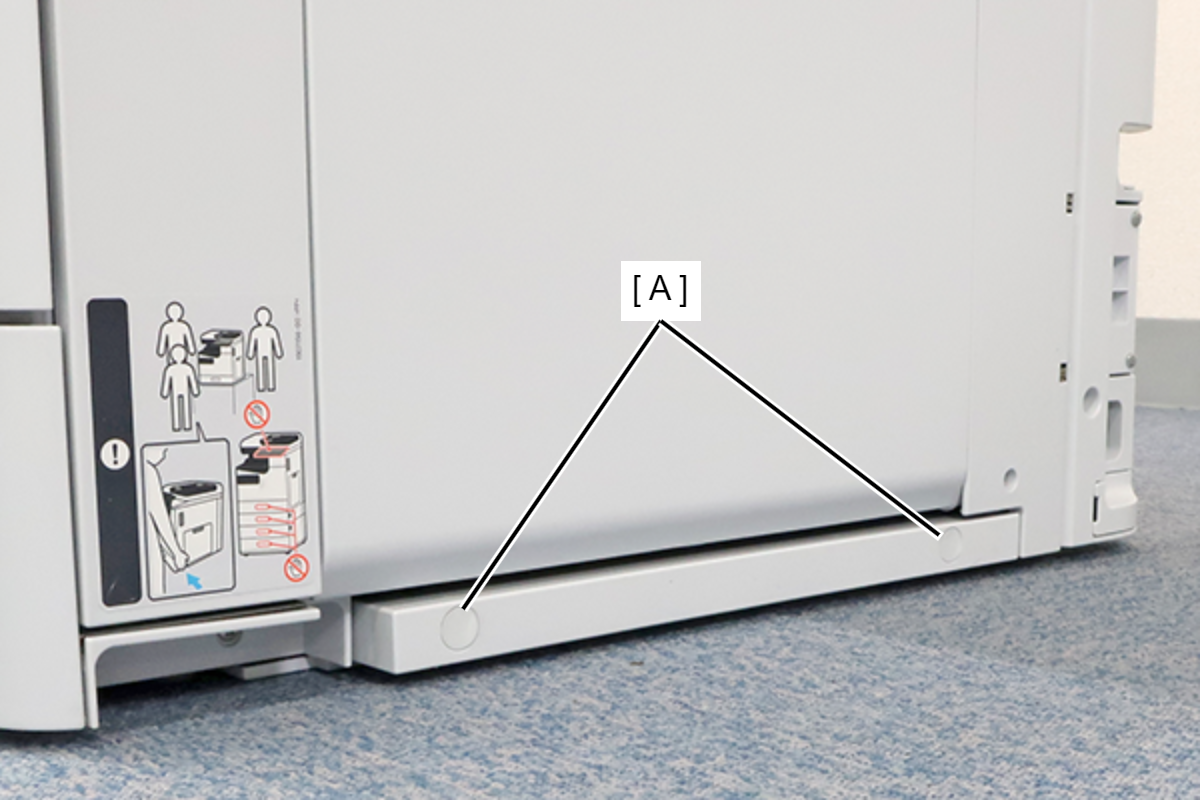
- Remove the 2 blank stickers (A).
- Remove the 2 screws and remove the B Cover Lowe Case (A).
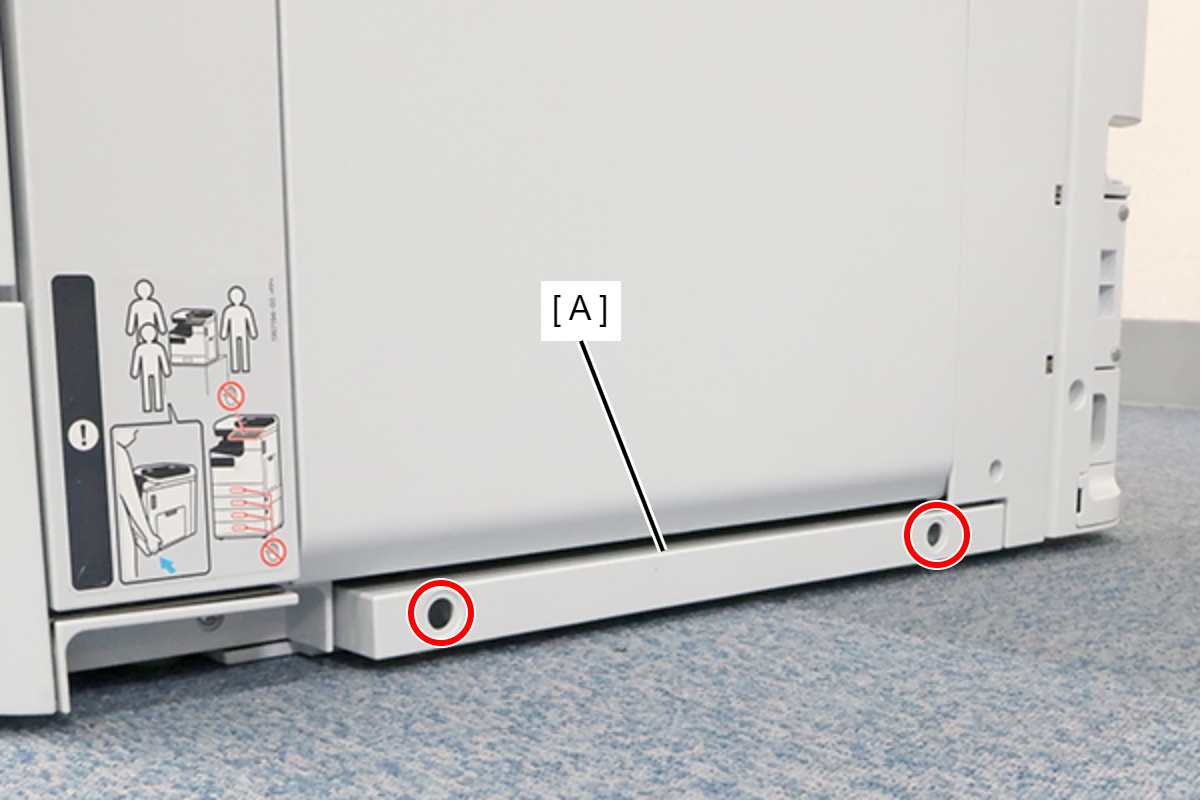
 : 3x5D
Caution / 注意If ink leakage occurs in the Lower Case of the B Cover when only the main unit is being used, there is a function for preventing ink from leaking outside the machine.
The Lower Case of the B Cover must be reattached when the Additional Cassette Units that have been once installed on the printer are removed from the printer.
- Align the cassette removal direction of the main unit (A) with that of the C2 Additional Cassette Unit (B), and load the main unit onto he C2 Additional Cassette Unit.
 Note / 補足
- Be sure to work with 3 persons by holding the predetermined position.
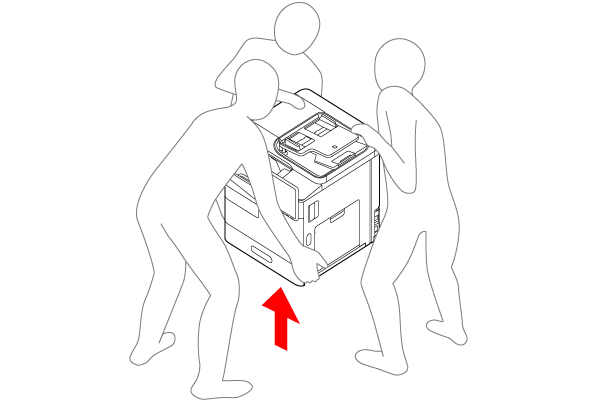
- Insert the 2 positioning shafts of the C2 Additional Cassette Unit into the 2 holes on the main unit.
- Be sure to work with 3 persons by holding the predetermined position.
- Remove the C1 cassette (A).
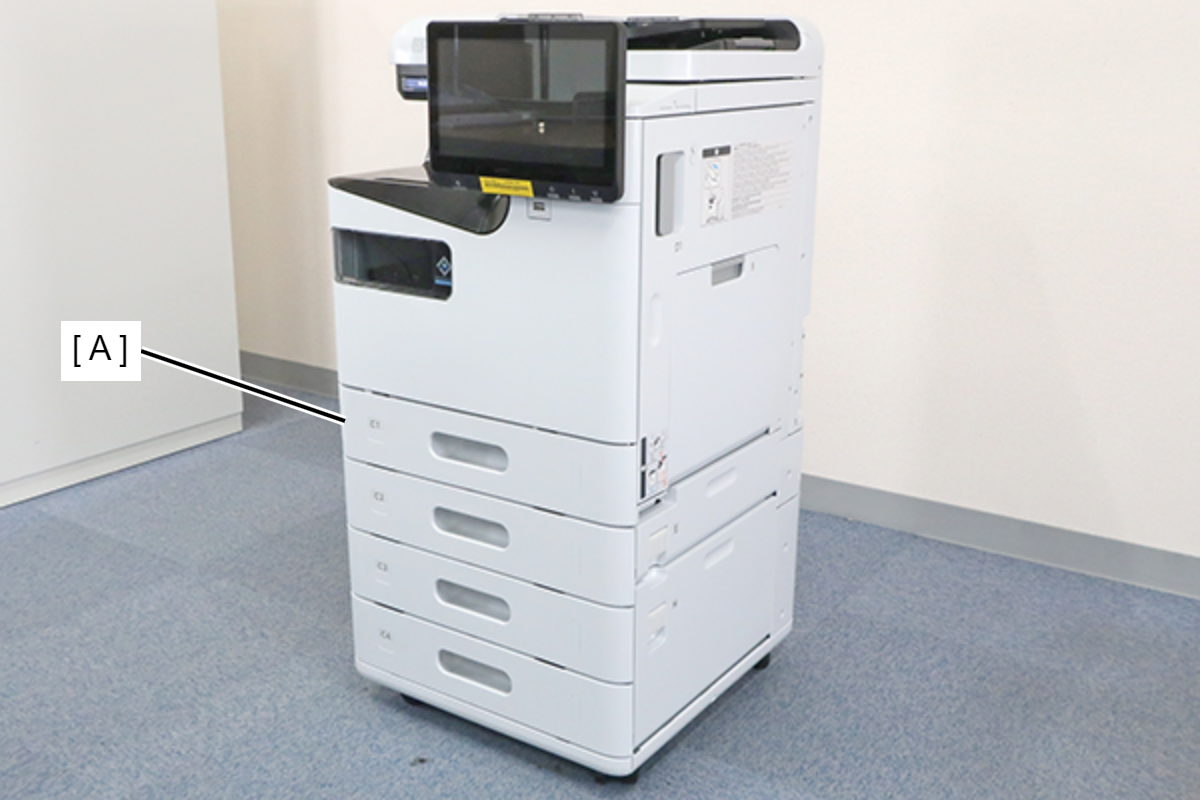
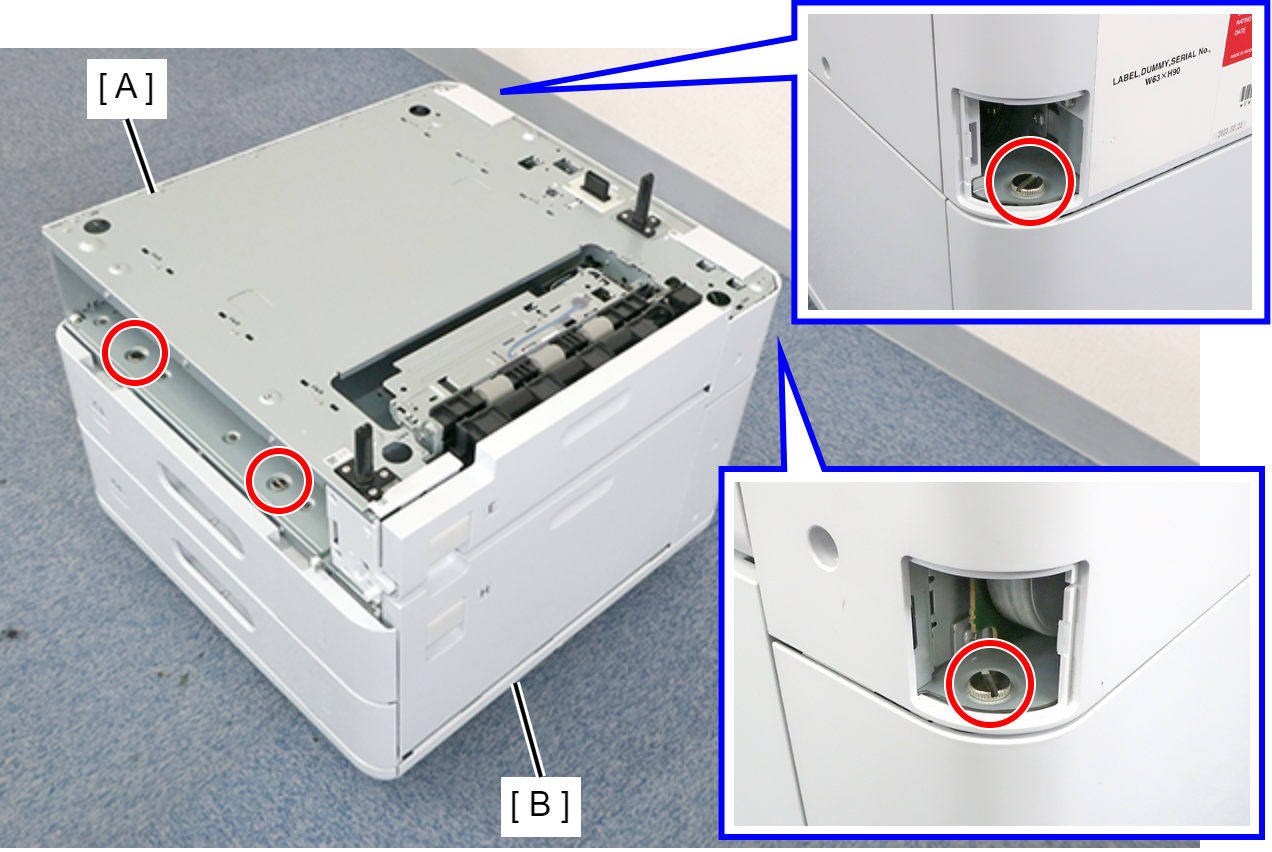
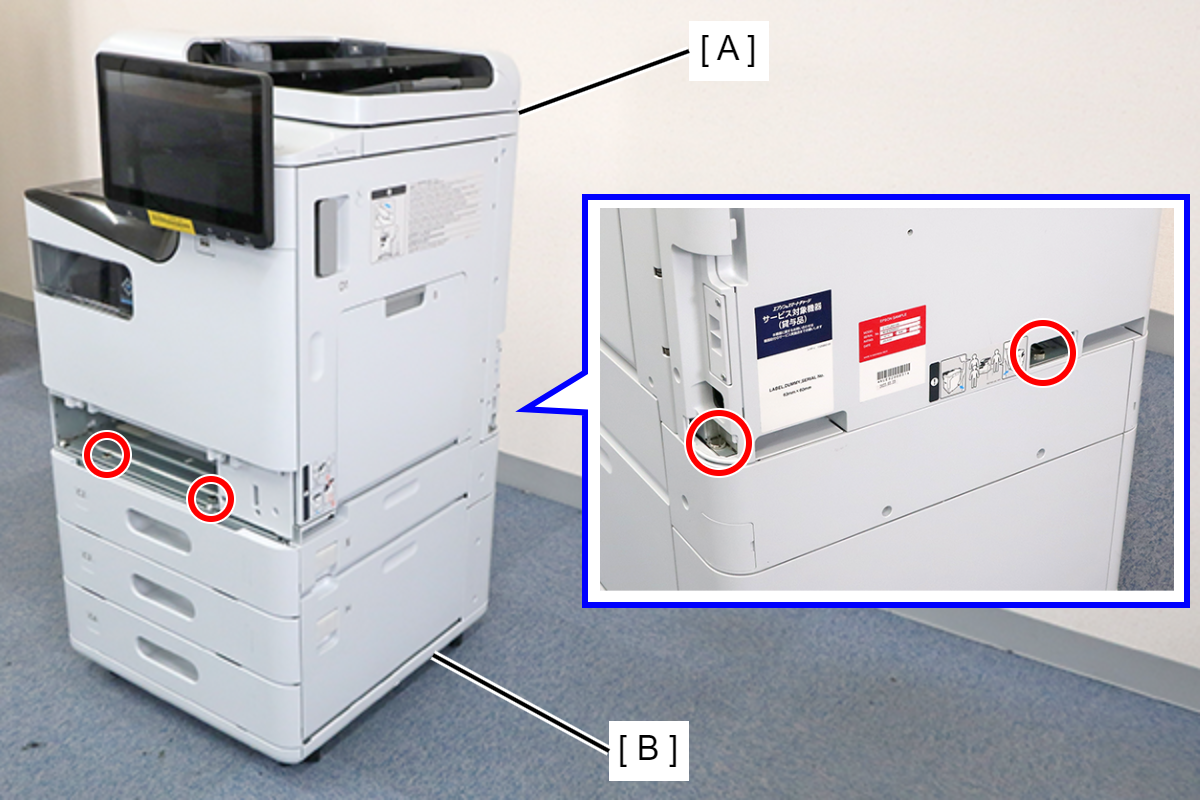
- Disengage the hook and remove the 2 Screw Covers (A) from the main unit.
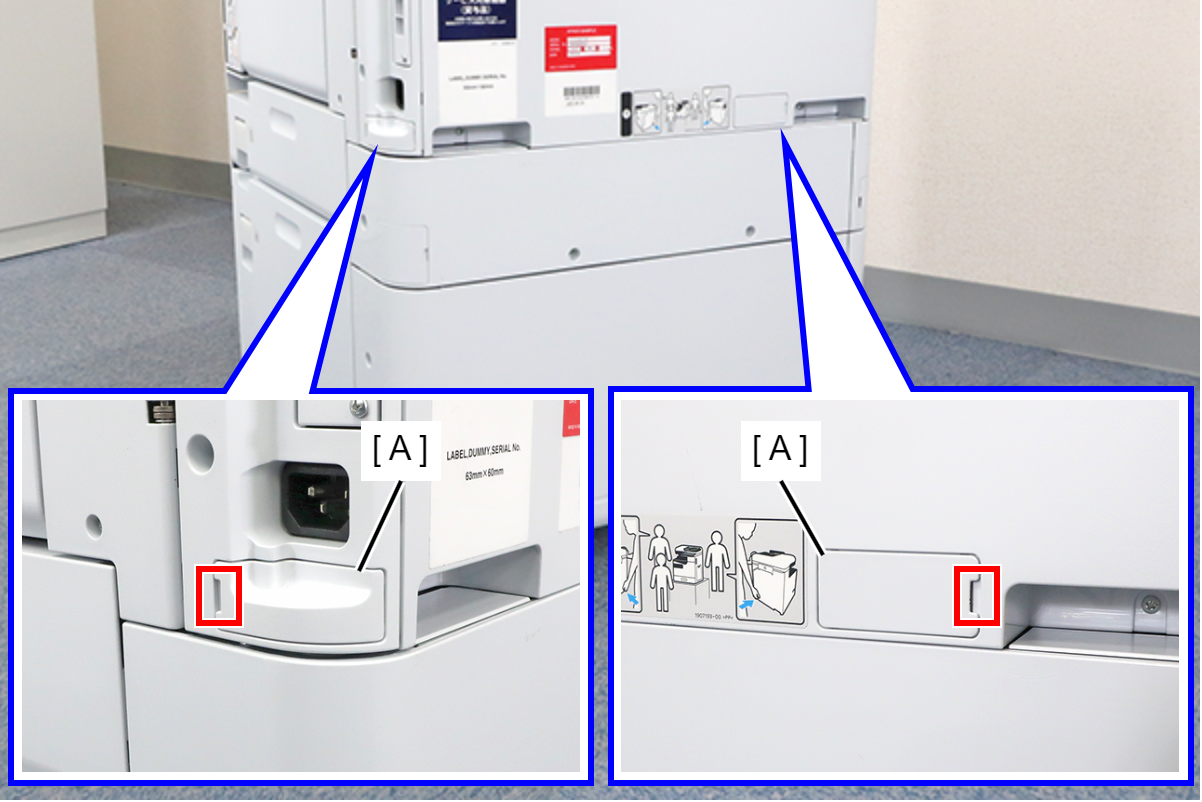
- Fix the main unit (A) to the C2 Additional Cassette Unit (B) with the 4 coin screws.
 Note / 補足
Tighten the coin screws until they can no longer be turned by hand.
It is not necessary to use a coin to tighten the screws.
- Attach the C1 Cassette, and then re-attach the 2 Screw Covers.
- Carry out the initial adjustment of the additional cassette unit.