Initial Setting
After turning on the power, set the main unit from the panel according to the following steps.
 Note / 補足 Note / 補足 |
|
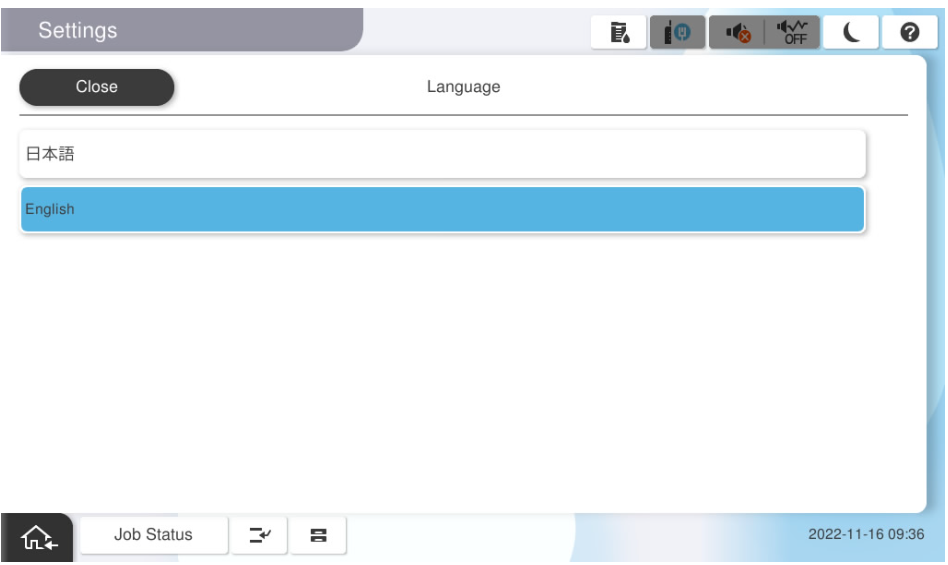
Configure Language / Date / Time
- Select the language to be used.
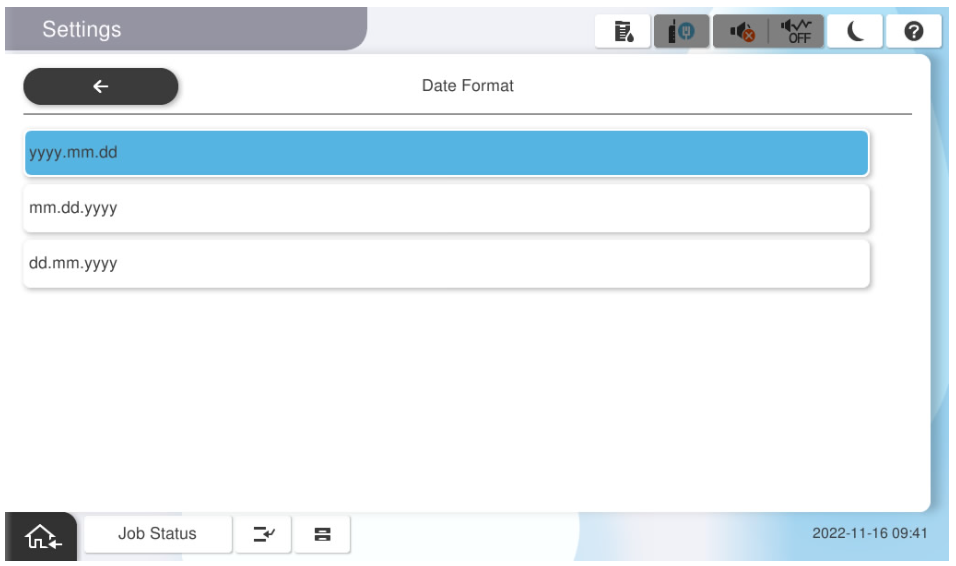
- Select the date and time display format.
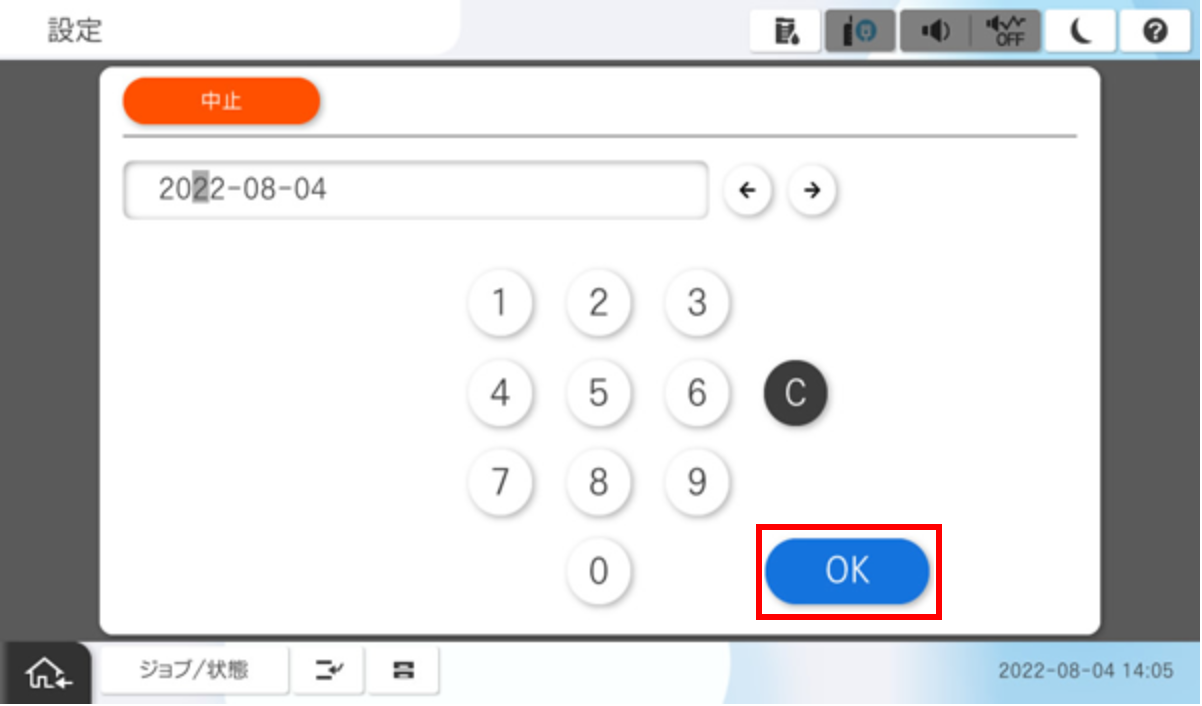
- Input the year, month and day then press [OK].
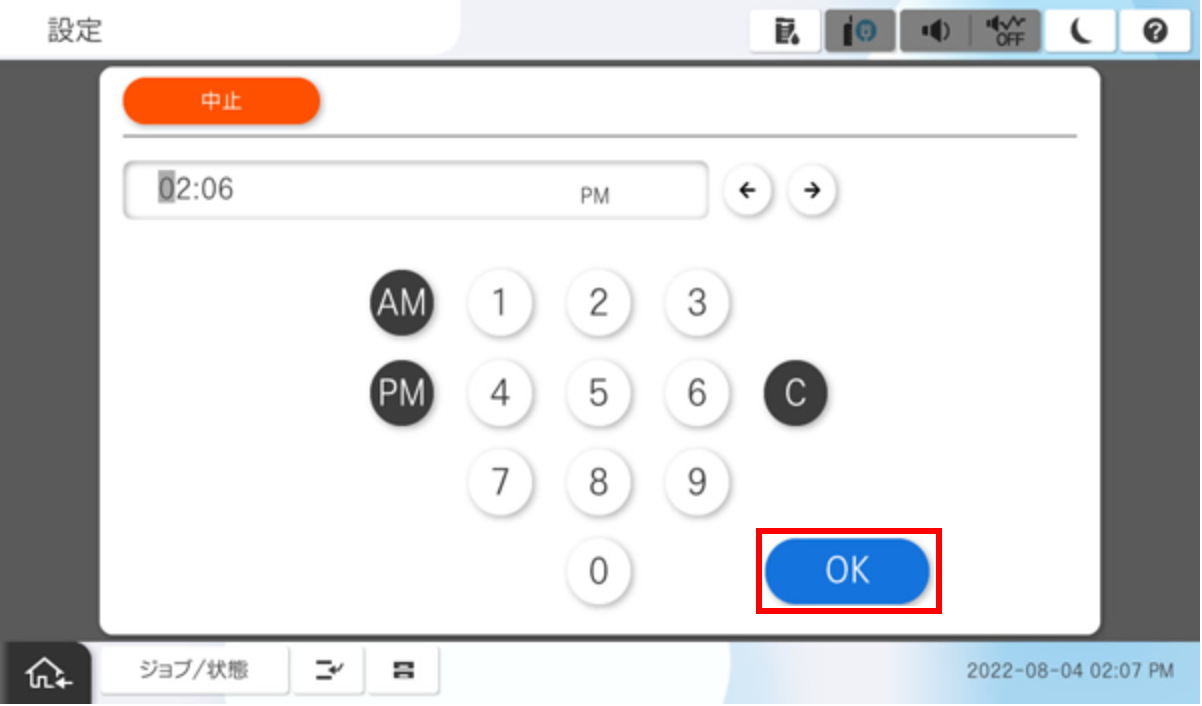
- Select the time display format.
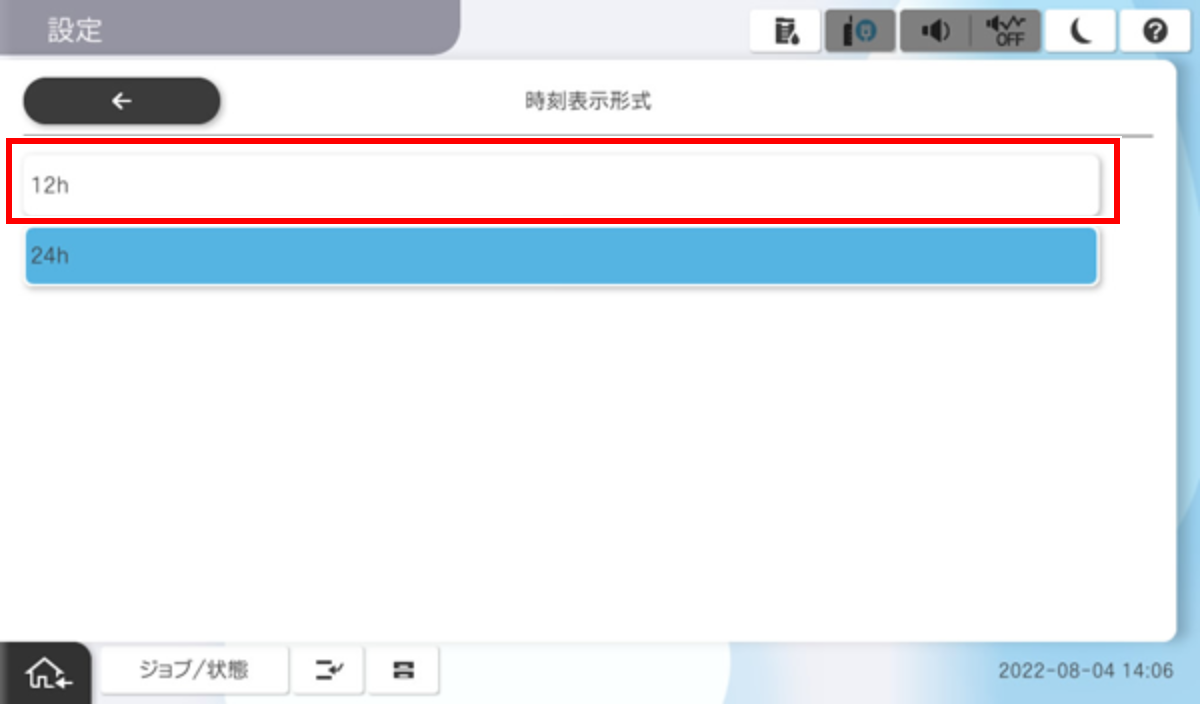
- Input the time and press [OK].
Initial Ink Charging
 Caution / 注意 Caution / 注意 |
|
After the time setting is completed, an ink cartridge mounting instruction screen is displayed. Perform the initial ink charging according to the following steps.
- Remove the ink cartridges from the boxes and shake them about 10 to 15 times.
Remove the ink cartridge from the transparent bags.
Note / 補足The ink cartridges are packaged in two types of bags.
- Inner bag: Airtight bag (tear open from the notch).
- Outer bag: PE bag (the bag is packed in a folded state, the end of the bag is open).
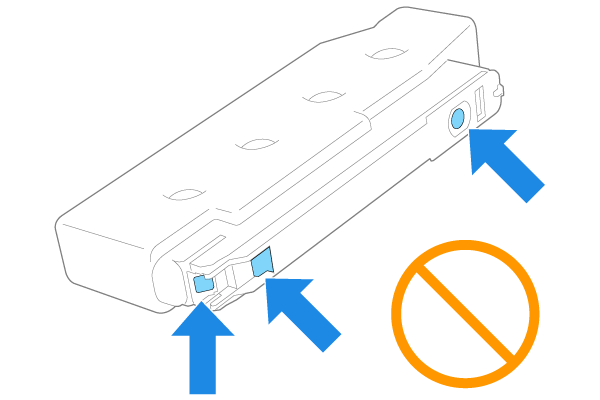
Caution / 注意Do not touch the parts shown in the figure below, as this may cause malfunction or ink adhesion.
Open the ink cartridge cover on the product and install the 4 ink cartridges.
 important / 重要
The ink cartridges are not compatible between the different models. If you install an incompatible cartridge by mistake, an ink cartridge error will be displayed and you will not be able to reset it (replacement of the main unit is required), so be careful. If you insert the card incorrectly, please contact the Smart Charge Center.
Close the ink cartridge cover and execute initial ink filling according to the guidance on the operation panel.(Initial ink charge time: about 12 minutes)
 Prohibition / 禁止事項
The following works and operations are prohibited during the initial ink filling.
- Power OFF
- Opening and closing covers (however, paper can be set in cassettes C1 to C4).
- Removing the ink cartridges.
- Connecting USB and LAN cables.
Note / 補足The initial ink charging is executed according to the following flow.
- The initial ink charging operation starts.
- The printer restarts (screen off).
- The screen goes dark or goes out temporarily.
- This is a normal operation, wait.
- Initial ink charging is executed (initial ink charging execution screen).