High capacity unit paper guide position change procedure
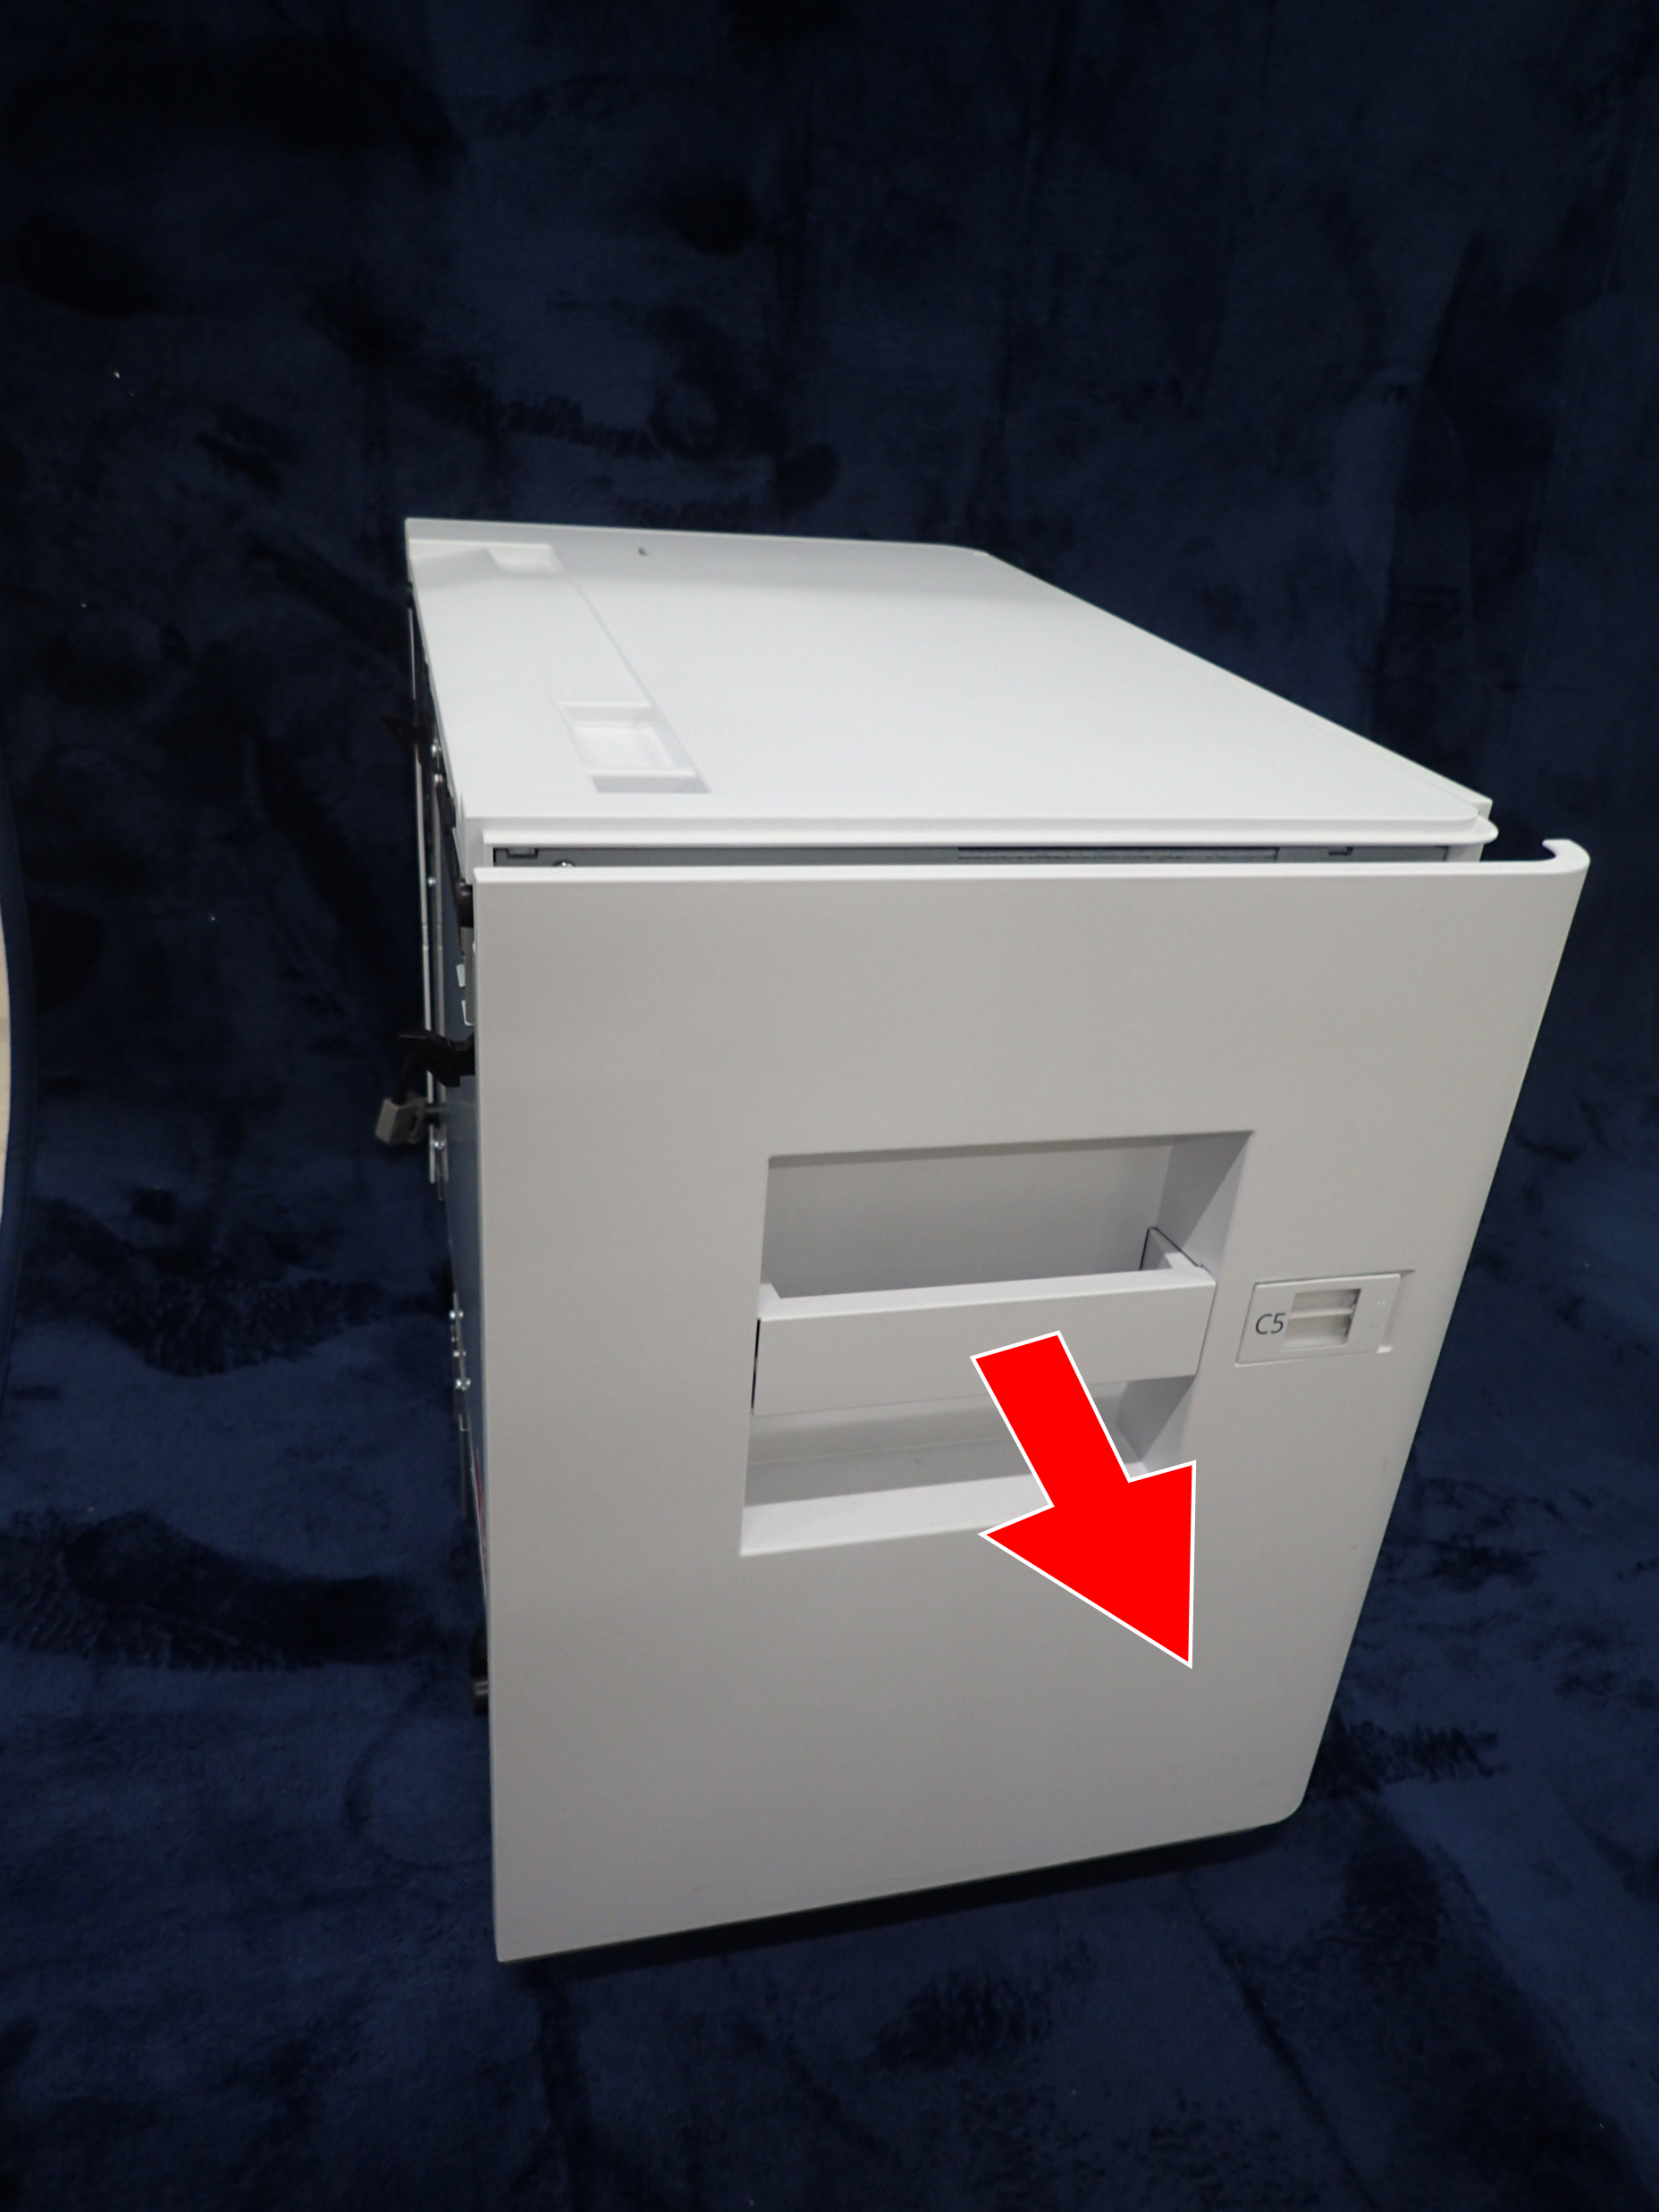
Pull out the cassette of High Capacity Unit.
Record the current position of the marking line (A-1) on the adjustment plate relative to the marking scale (A) on the front side of the product.
Record the current position of the marking line (B-1) on the adjustment plate relative to the marking scale (A) on the rear side of the product.
 Check Point / チェックポイント
- Paper guide position change is based on the calculated state of the margin difference.
It is recommended to memorize in order to prevent rework when the changed by mistake position of the adjustment plate in the next steps.

- Paper guide position change is based on the calculated state of the margin difference.
Loosen the 2 fixing screws on the adjustment plate (about 1.5 turns).

- Change the position of the adjustment plate (A) based on the margin difference calculated from the adjustment pattern.
When change the position, use the marking line (B) and the marking scale (C) on the adjustment plate.
 Note / 補足
Marking scale width (A): 0.5mm, distance between marking scales (B): 0.5mm

- The direction to move the adjustment plate is as follows.
- If you want to small the margin of #1: change to the rear side of the product.
- If you want to small the margin of #2: Change to the front side of the product.
After change the position, tighten the fixing screw of the adjustment plate on the front side of the product.
Check Point / チェックポイント- When tight the screws, be careful not to shift the position of the adjustment plate.
Change the position of the adjustment plate on the rear side of the product is also the same way.
 Caution / 注意
- The amount of movement of the adjustment plate must be the same with front and rear of the product. If the amount of movement is different, it may cause paper jam.