Stabilizers Installation Procedure
Bundled Items
| No. | Bundled Items | Qty. |
|---|---|---|
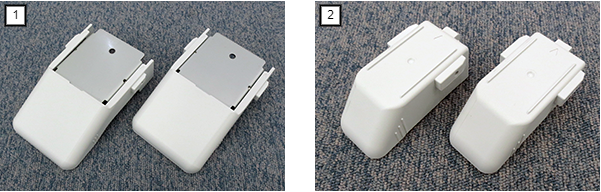
| 1 | Stabilizers A | 2 |
| 2 | Stabilizers B | 2 |
Installation Procedure
Items to Prepare
- Gloves
Minimum number of workers
1 person
 Caution / 注意 Caution / 注意 |
Be sure to check the following precautions before installation.
|
 Check Point / チェックポイント Check Point / チェックポイント |
|
Installation Procedure
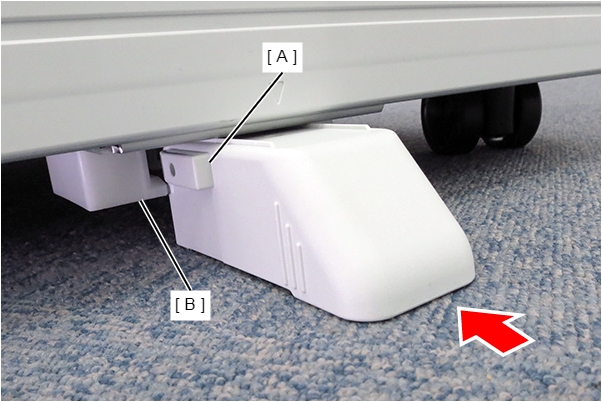
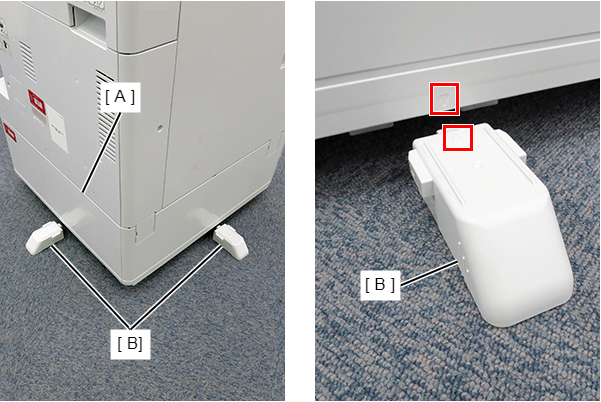
- Align the arrow marks on the stabilizer A (B) with the arrow marks on the front and bottom right sides of the additional cassette (A).
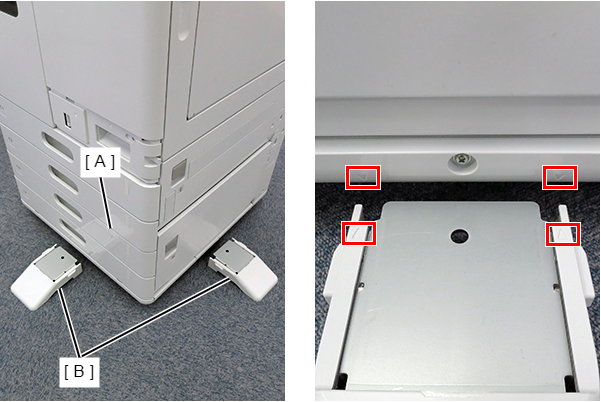
- Push the tab (A) of stabilizer A all the way along the guide (B) at the bottom of the additional cassette.
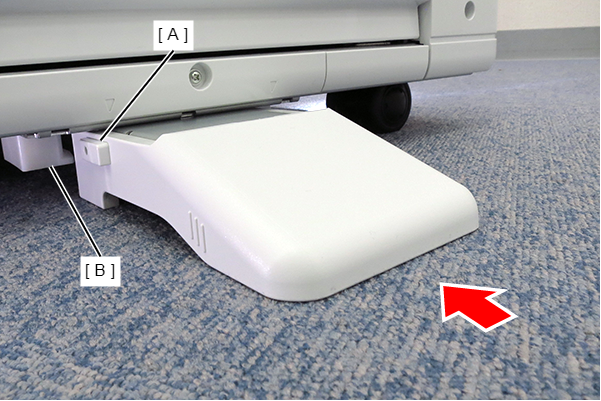
- Align the arrow marks on the stabilizer B (B) with the arrow marks on the back and left bottom of the additional cassette (A).
- Push the tab (A) of stabilizer B all the way along the guide (B) at the bottom of the additional cassette.