Additional Cassette Unit Installation Procedure
 Caution / 注意 Caution / 注意 |
Be sure to check the following precautions before installation.
|
Items to Prepare
- Bundled Items of Additional Cassette Unit
- Gloves
- Phillips (+) screwdriver
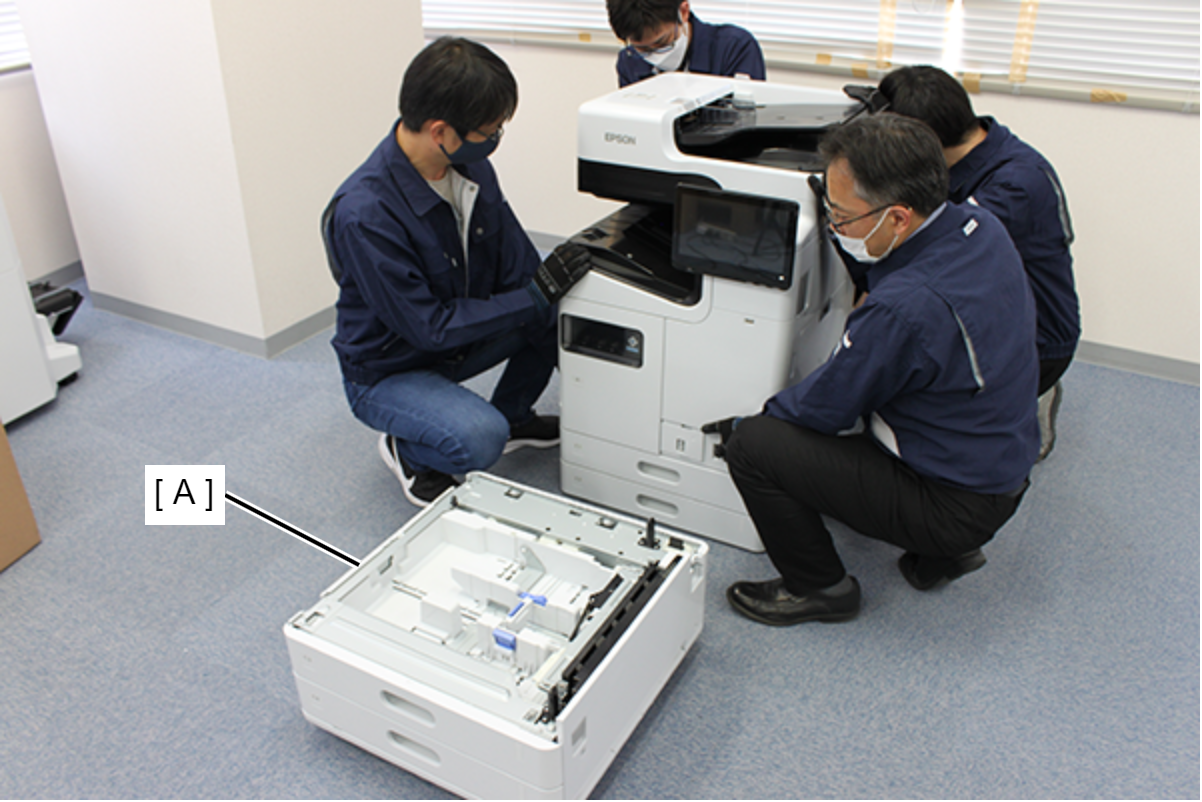
Minimum number of workers
4 persons
Installation Procedure
- Remove 2 screws and remove the E Cover Lowe Case (A).
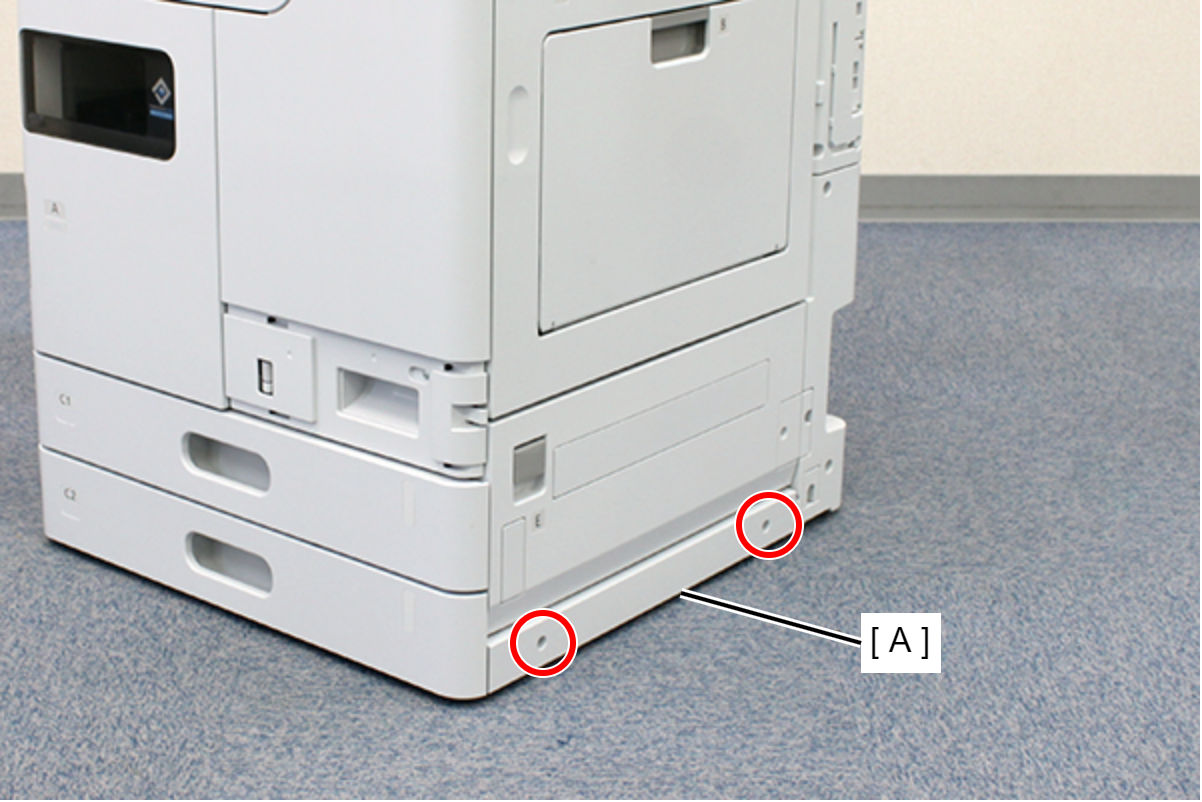
 : 3x10DW/P
- Remove the 4 screws and remove the reinforcement plate (A).
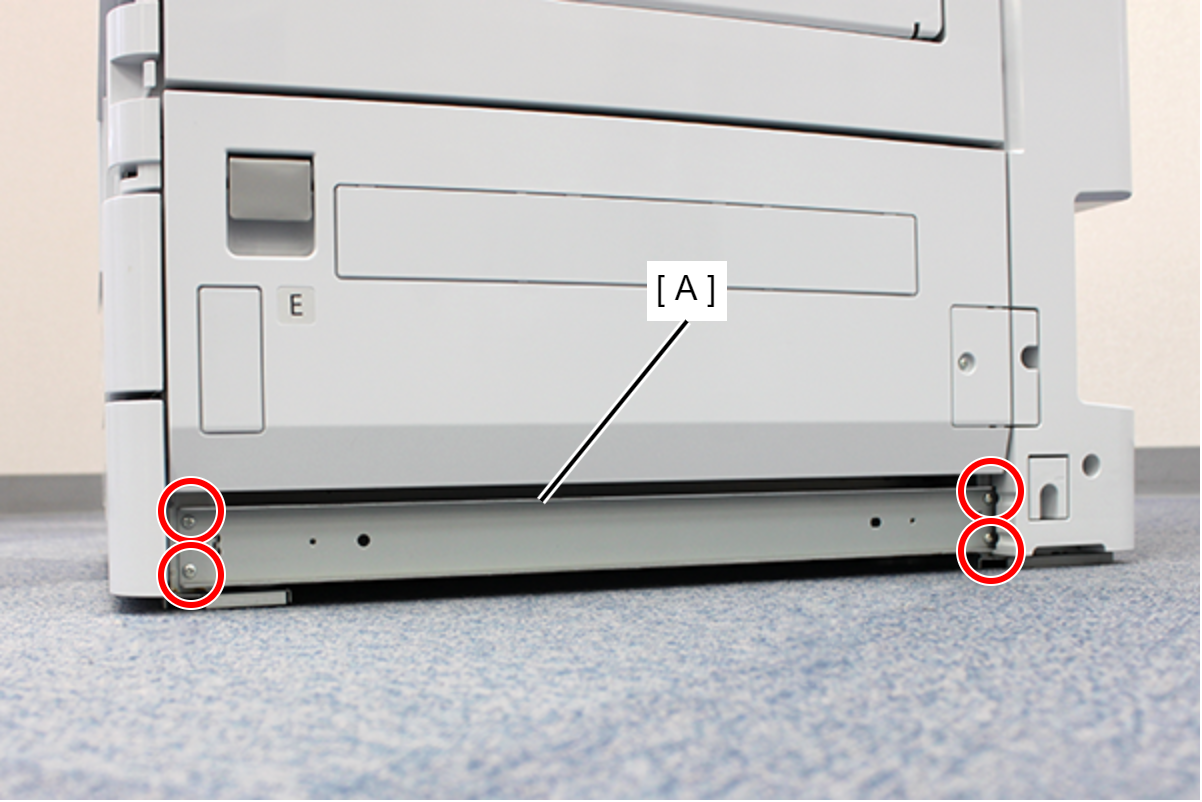
 : 3x8D/P
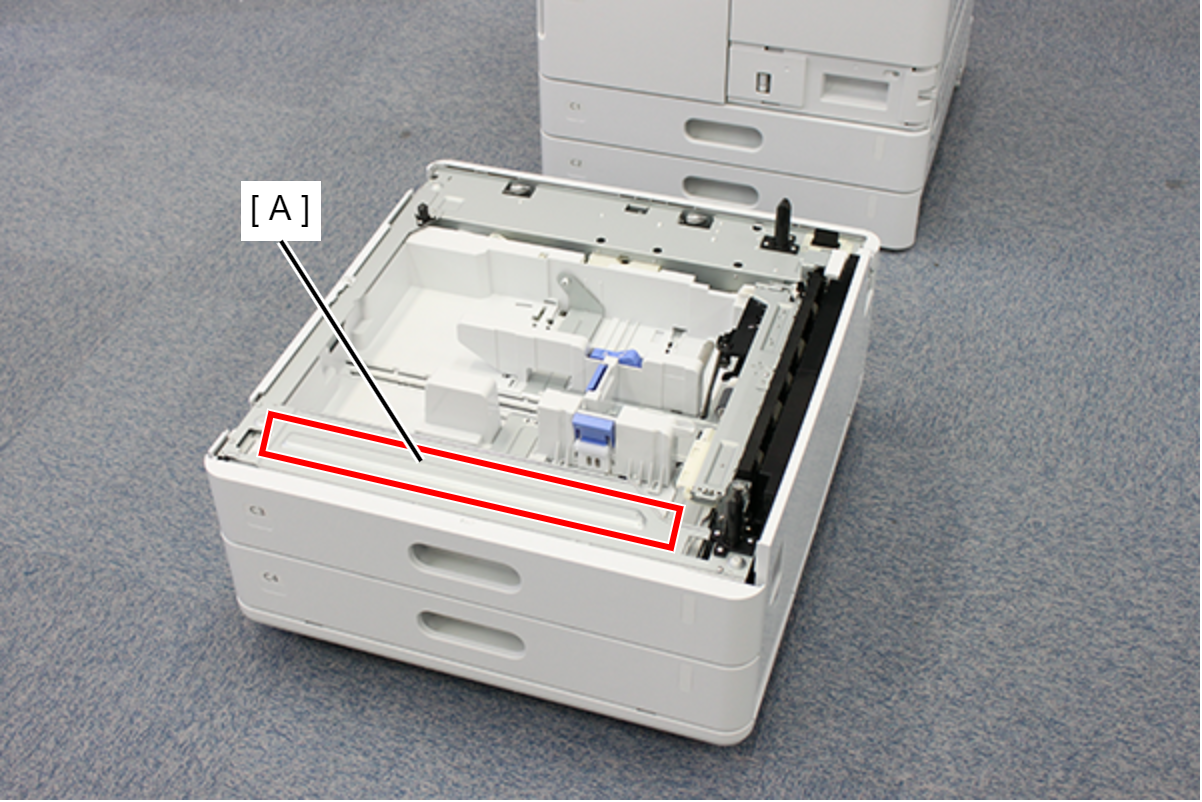
- Move the additional cassette unit (A) to the front side of the main unit.
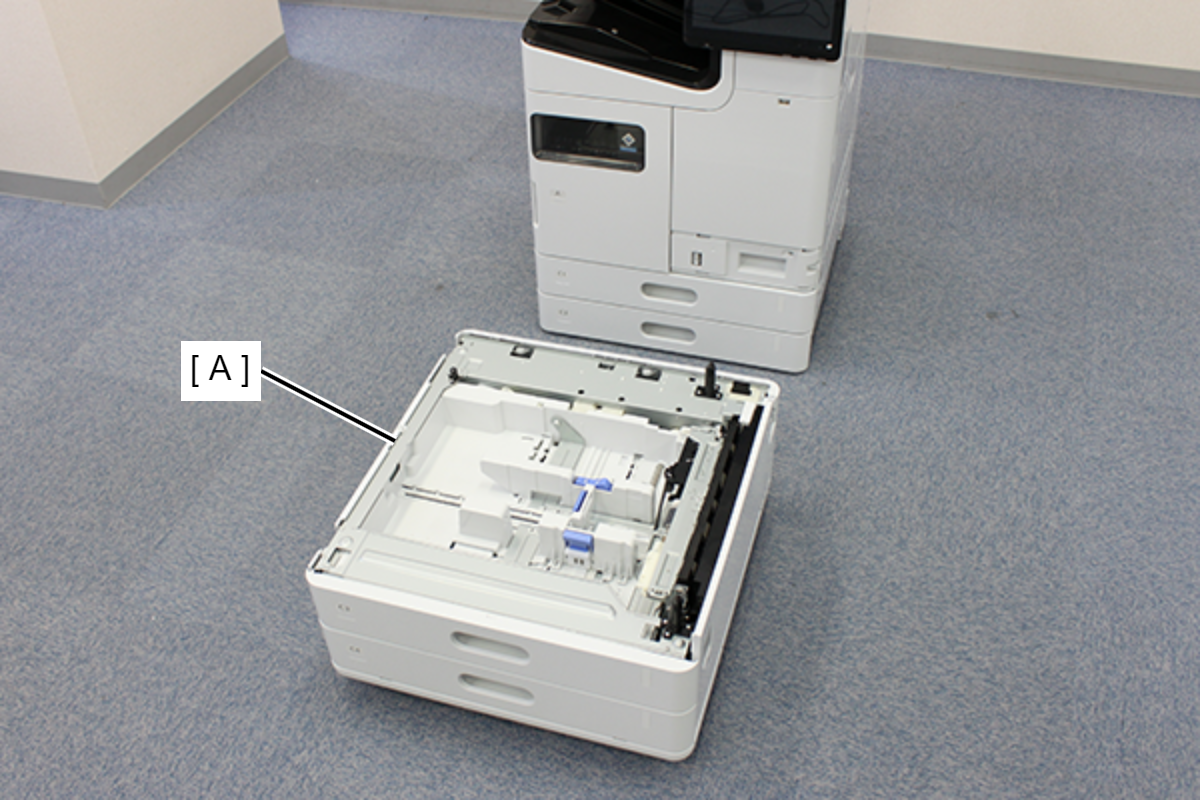
 Note / 補足
Align the projection (A) of the additional cassette unit with the front side of the main unit.
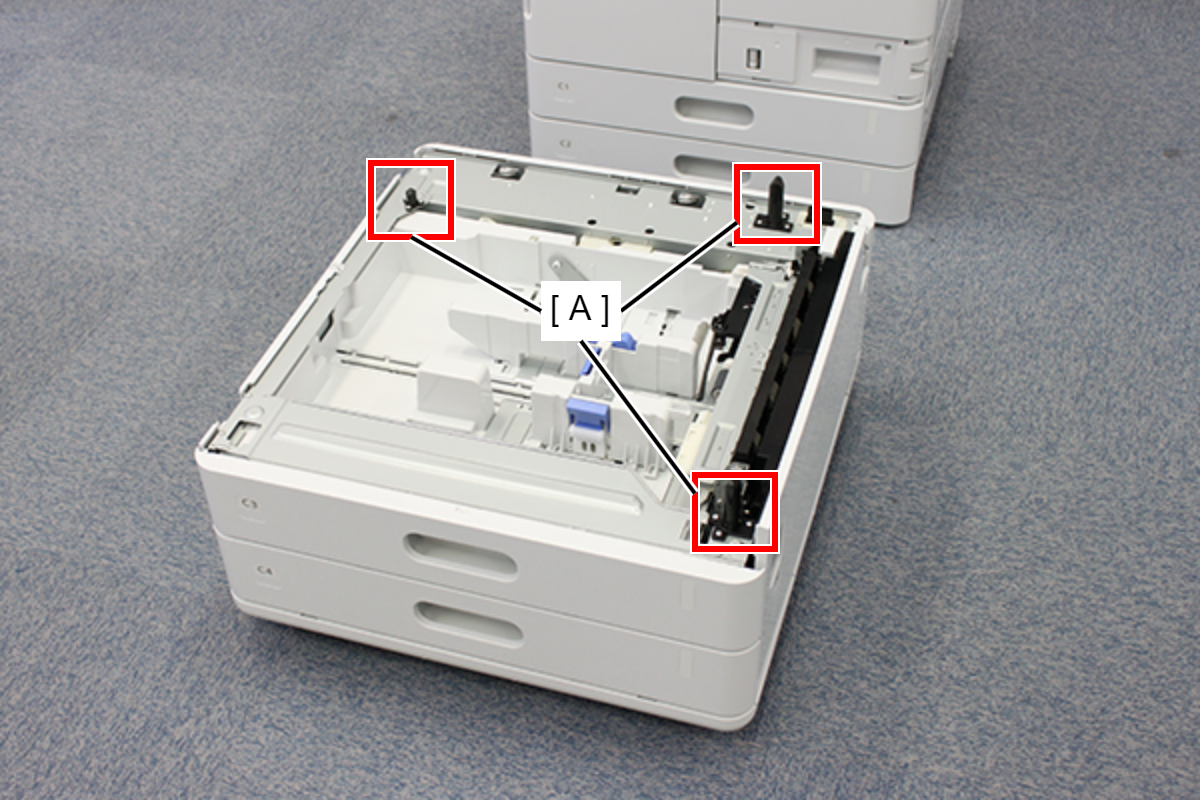
- Lift the main unit and place it on the additional cassette unit (A).
 Note / 補足
Insert the 3 positioning shafts (A) of the additional cassette unit into the holes in the main unit.
- Attach the fixing brackets (A) to the two locations on the left side of the main unit, and secure them with one screw each.
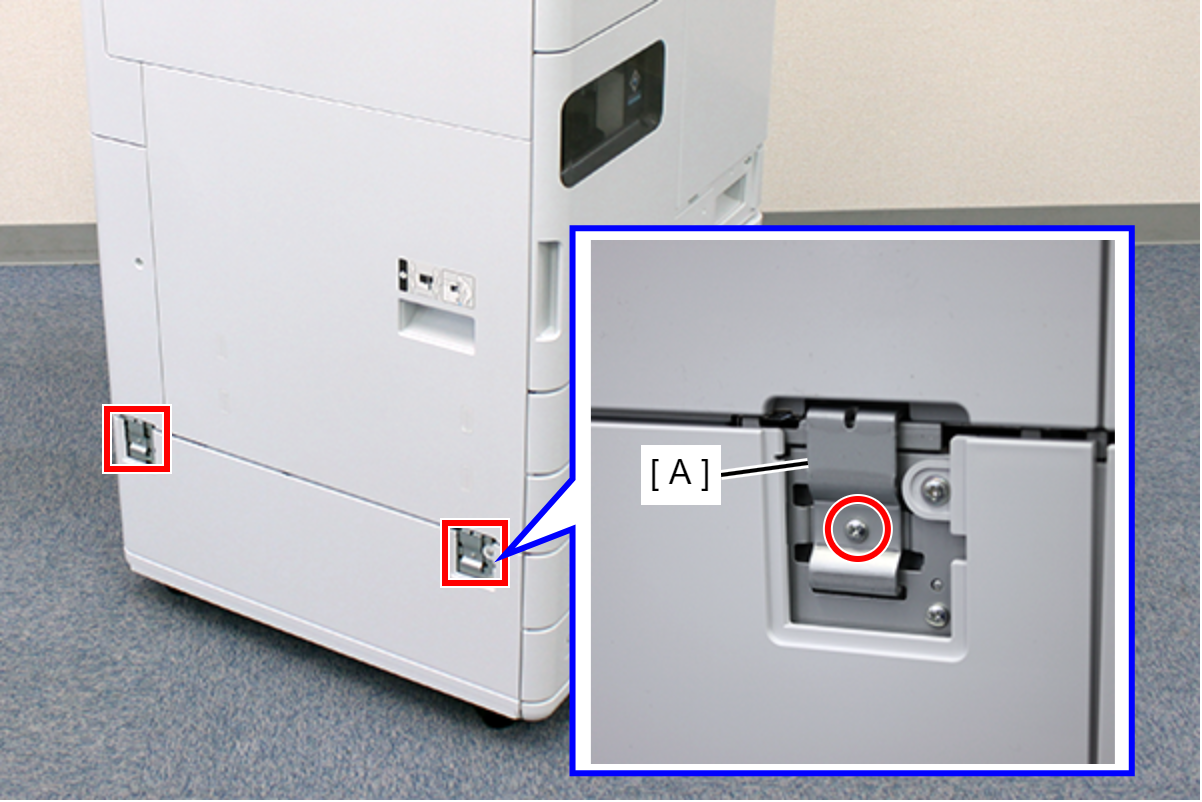
- : 3x6D/P
- Open the H cover (A) of the additional cassette unit.
- Attach the fixing brackets (A) to the two locations on the right side of the main unit, and secure them with one screw each.
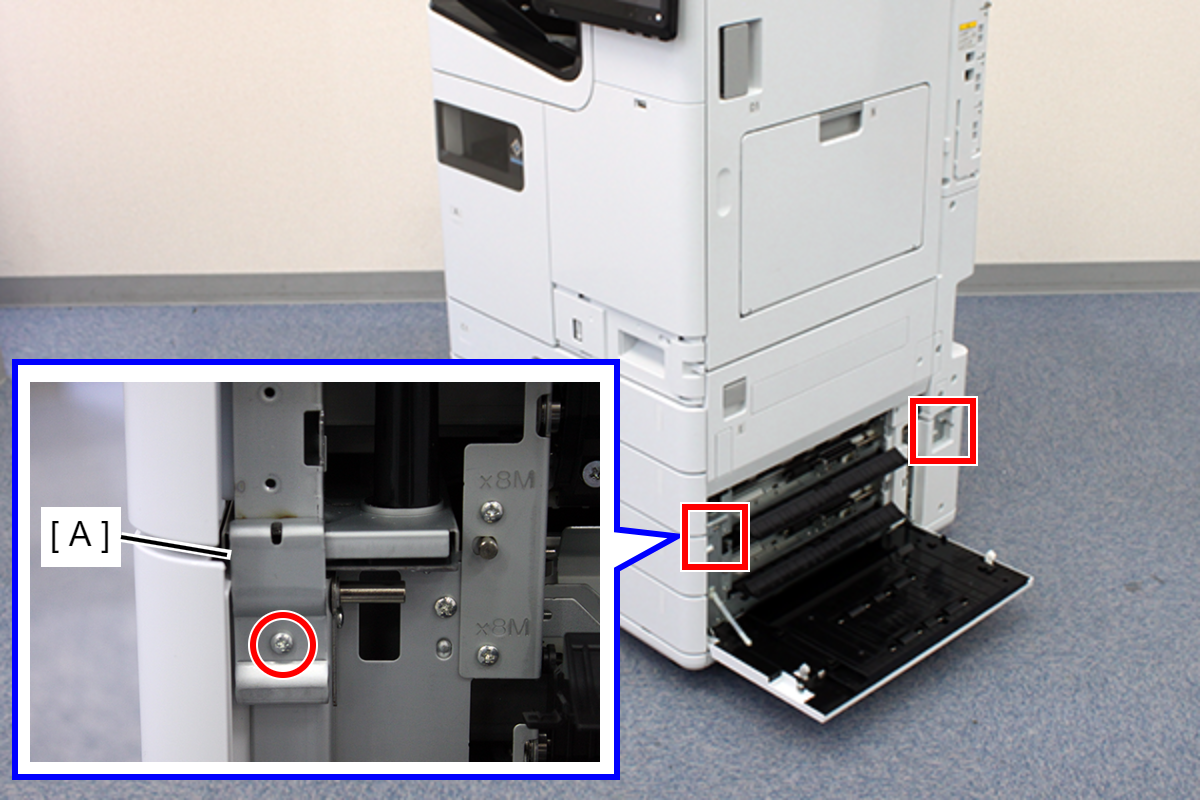
- : 3x6D/P
- Close the H cover.
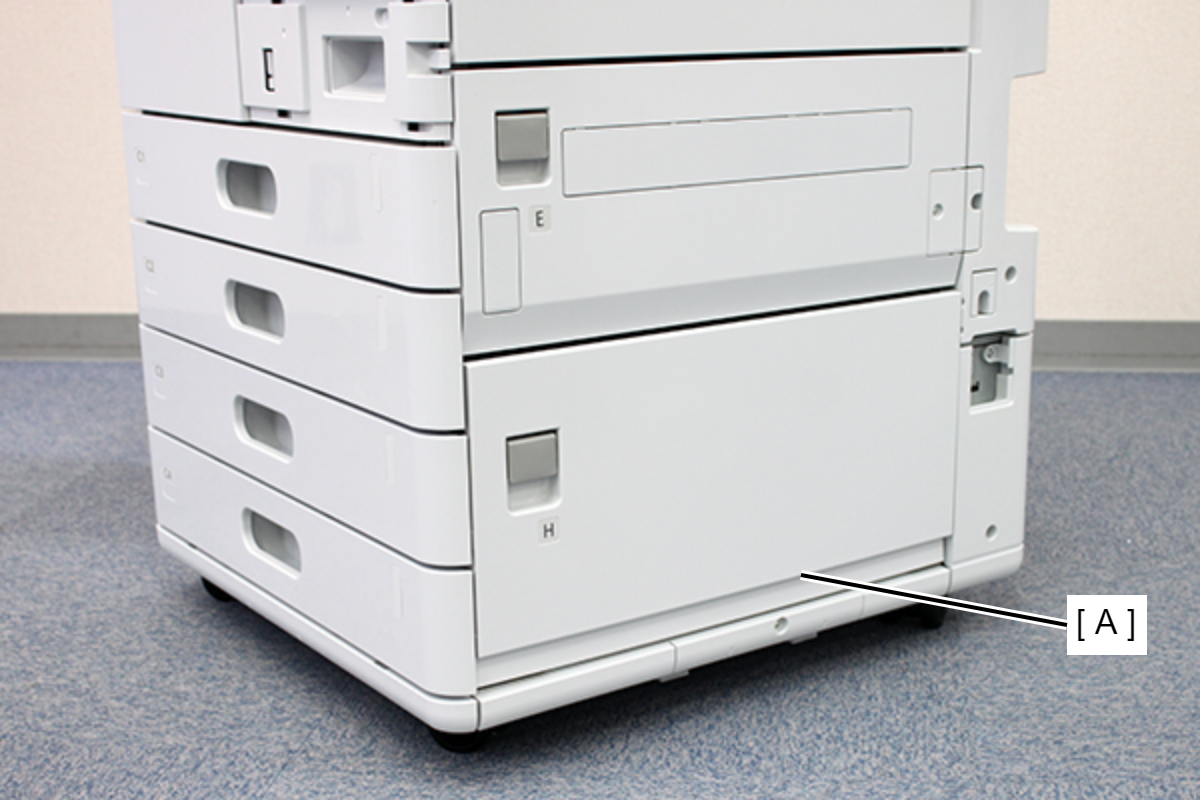
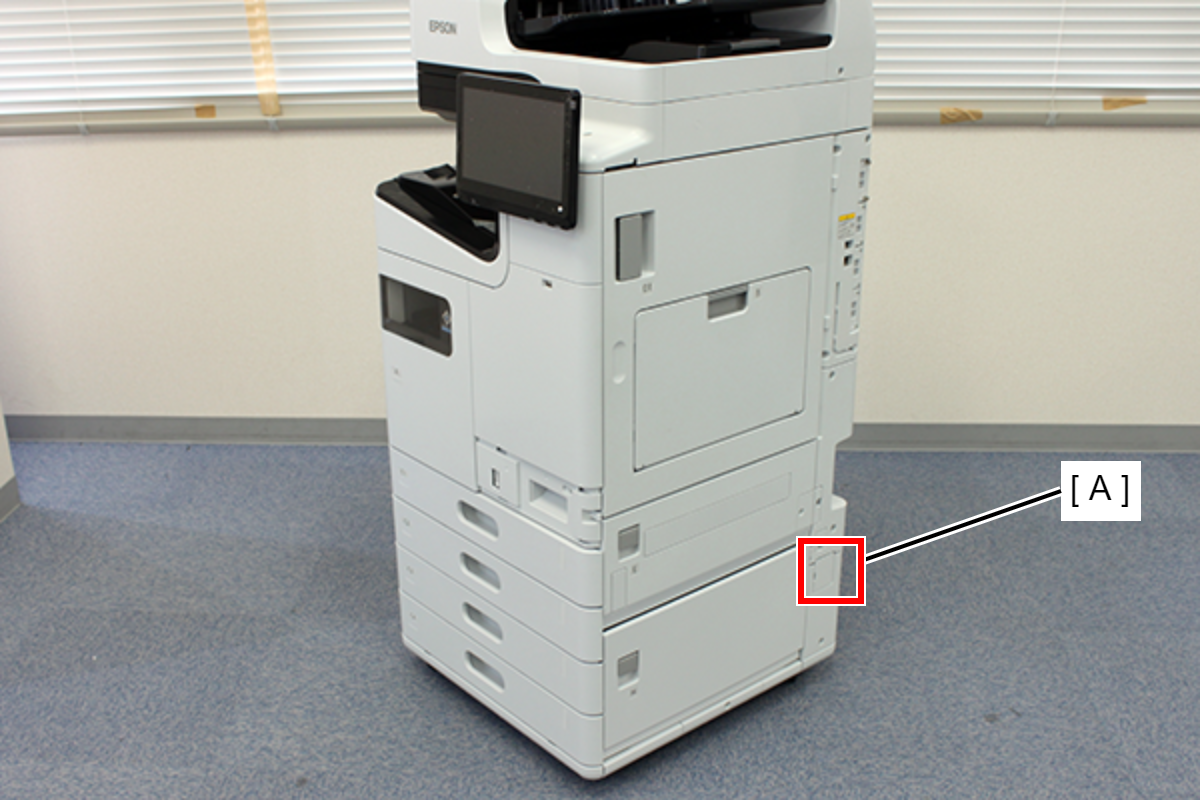
- Attach the blindfold cover (A) to the two locations on the right side of the main unit.
 Check Point / チェックポイント
The four casters on this printer are equipped with a lock mechanism.
After moving the unit to new location, lock the casters according to the installation environment and customer requests. - Attach the blindfold cover (A) to the two locations on the left side of the main unit.
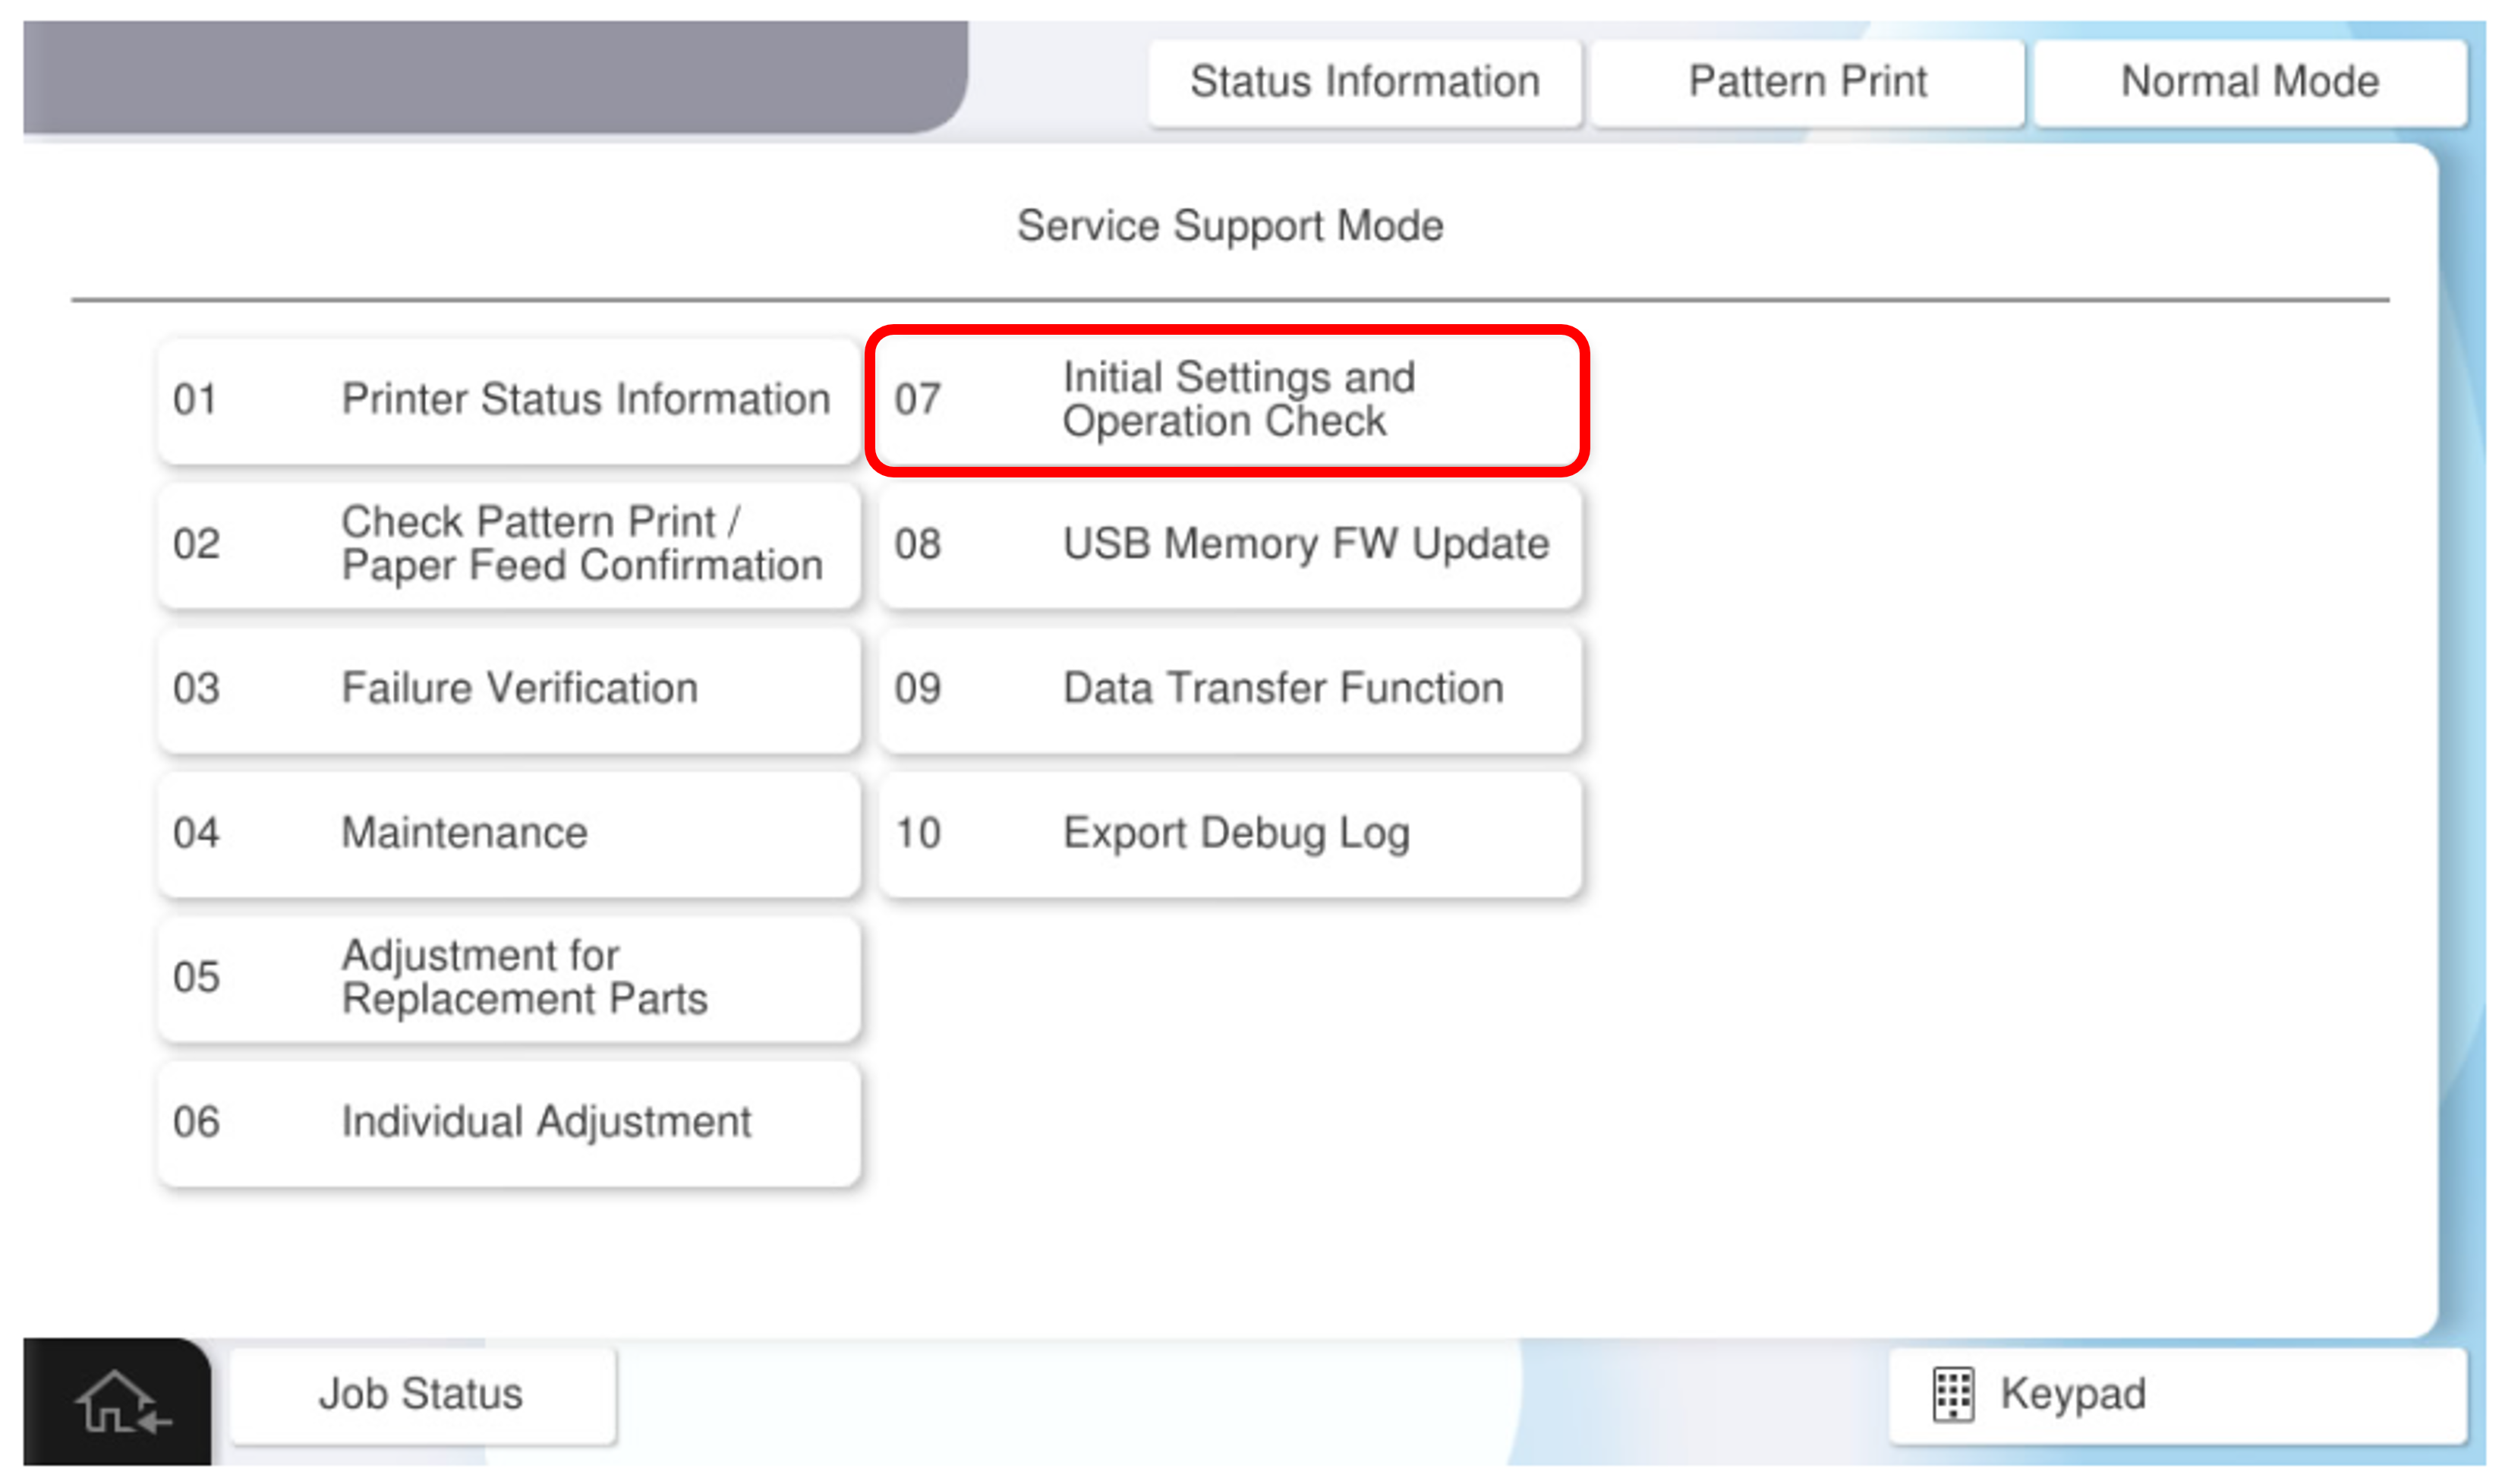
- Carry out the initial adjustment of the additional cassette unit.
Additional Cassette Unit Initial Adjustment Procedure